This post contains affiliate links and we make a small commission for purchases made using these links.
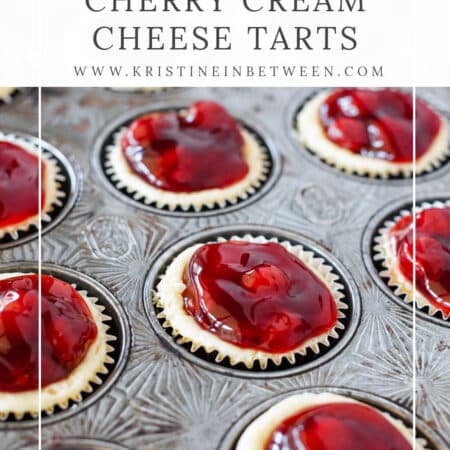
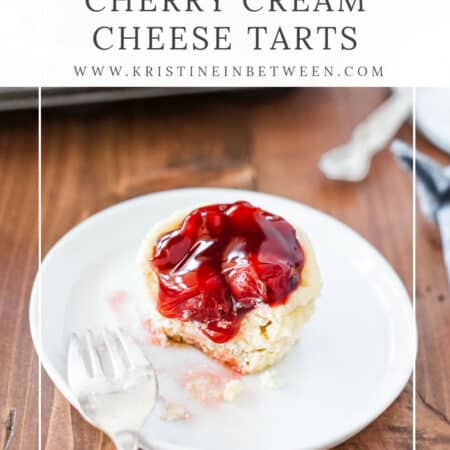
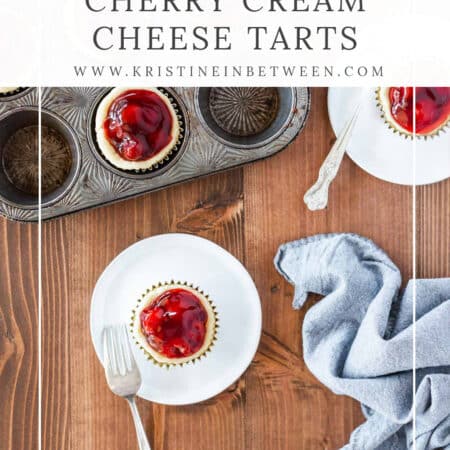
These simple-to-make rustic cherry cream cheese tarts are downright irresistible and while they’re perfect for pretty much any occasion – they’re extra perfect for Valentine’s Day.
The tarts have a creamy cheesecake filling with a tart cherry topping. And with their short list of ingredients and simple preparation, they’re sure to become one of your all-time favorite desserts.
Ingredients for Cherry Cream Cheese Tarts
- 12 vanilla wafers
- 16 ounces cream cheese
- 1/2 cup sugar
- 2 eggs
- 2 tsp vanilla extract
- 1 can cherry pie filling
Step-By-Step Instructions
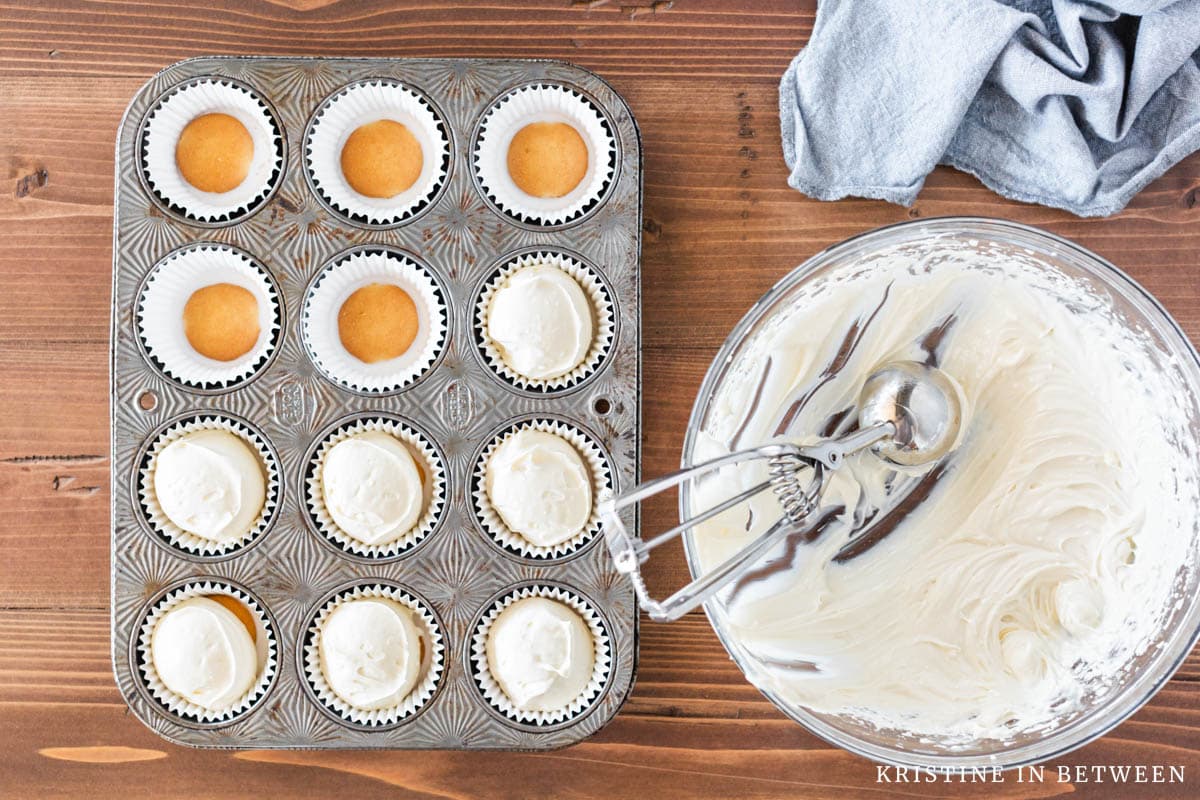
- First, preheat your oven to 375°F and line 12 muffin cups with aluminum foil liners. Place a vanilla wafer in the bottom of each cup and set the pan aside.
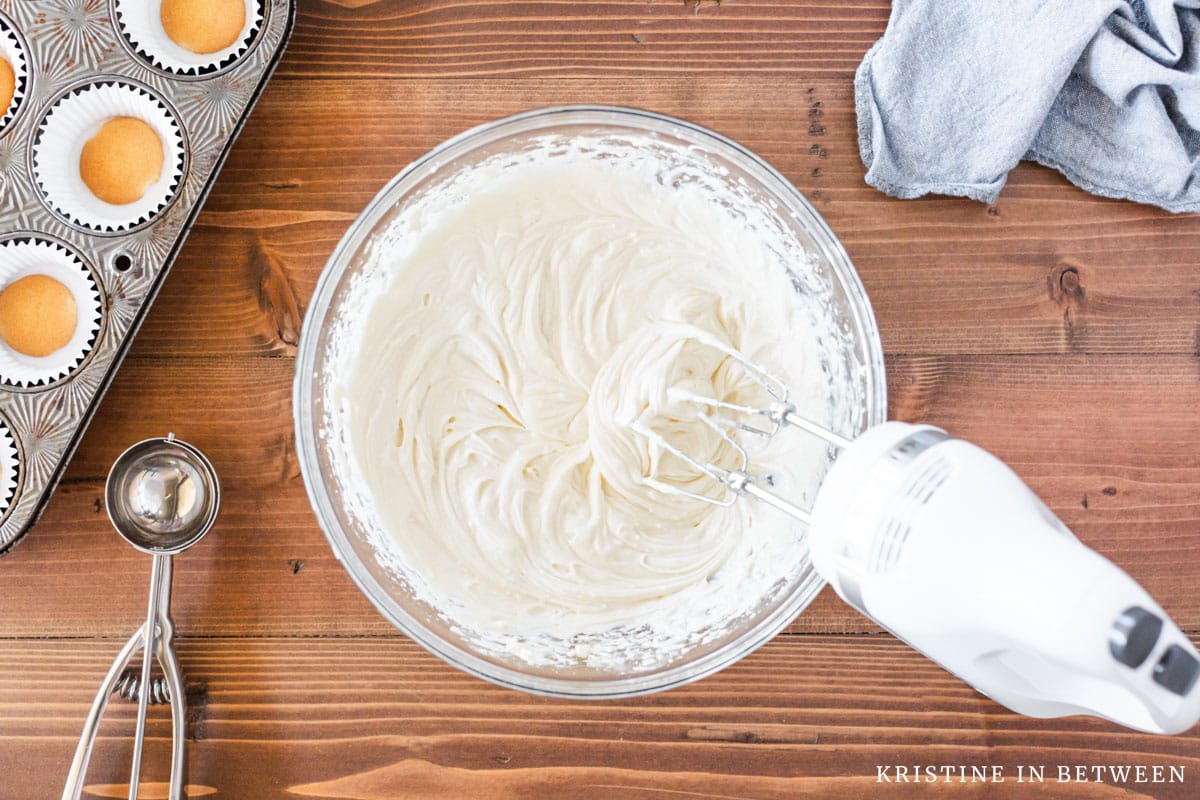
- In a large mixing bowl, combine the cream cheese, sugar, eggs, and vanilla extract. Mix with an electric mixer for 2-3 minutes until smooth and creamy.

Tip
Don’t skimp on muffin liners with these tarts. Aluminum foil liners are essential. The cheesecake filling is dense and heavy and regular paper liners will collapse inwards on the tart during baking, making them harder to fill and less attractive.
Sadly, you can’t skip liners with this recipe either – greasing the muffin tin just wont do. The tarts will be next to impossible to remove from the pan without liners.
- Next, spoon or scoop the cream cheese mixture mixture evenly into each muffin cup, filling them 2/3 full.
- Then, pop those little beauties into the oven and bake for 15 minutes, or until they’re set on the top and just starting to turn golden brown around the edges. They’ll still have some jiggle.
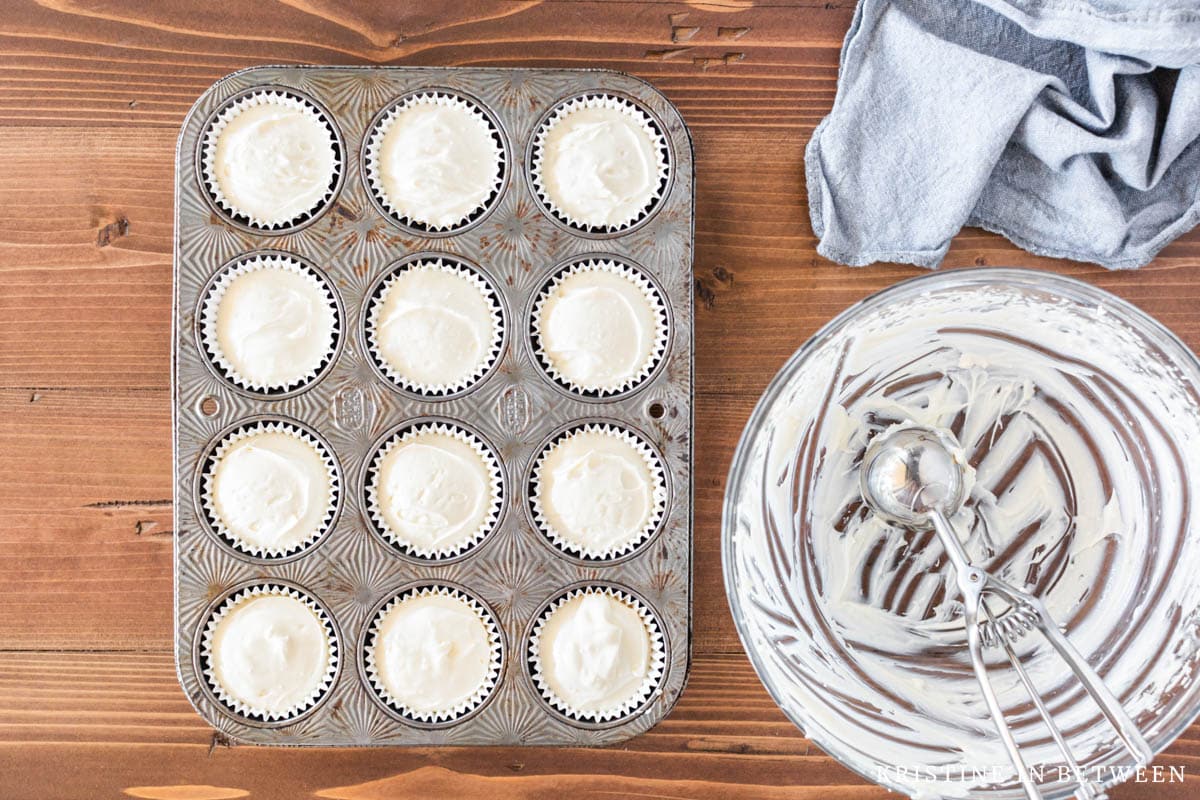
- Once the tarts are done baking, remove them from the oven and let them cool completely.
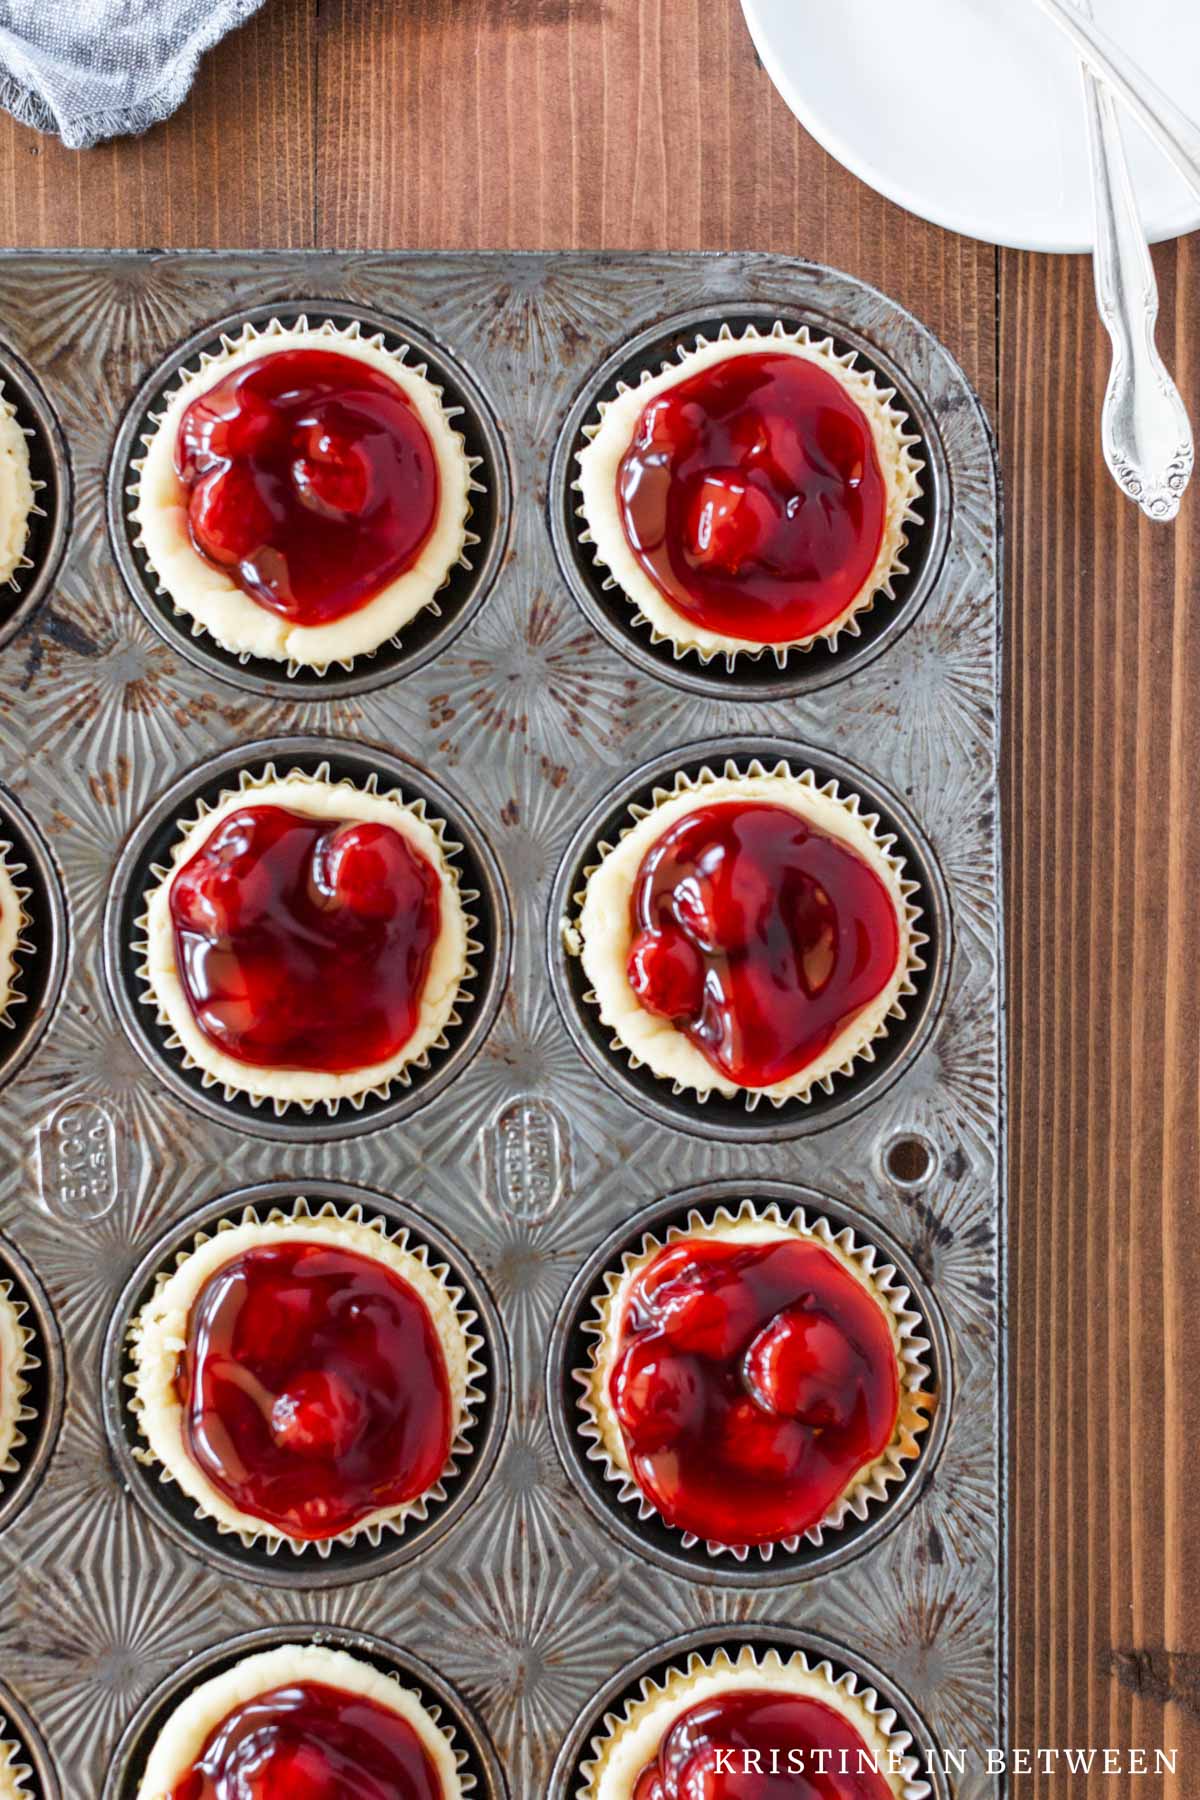
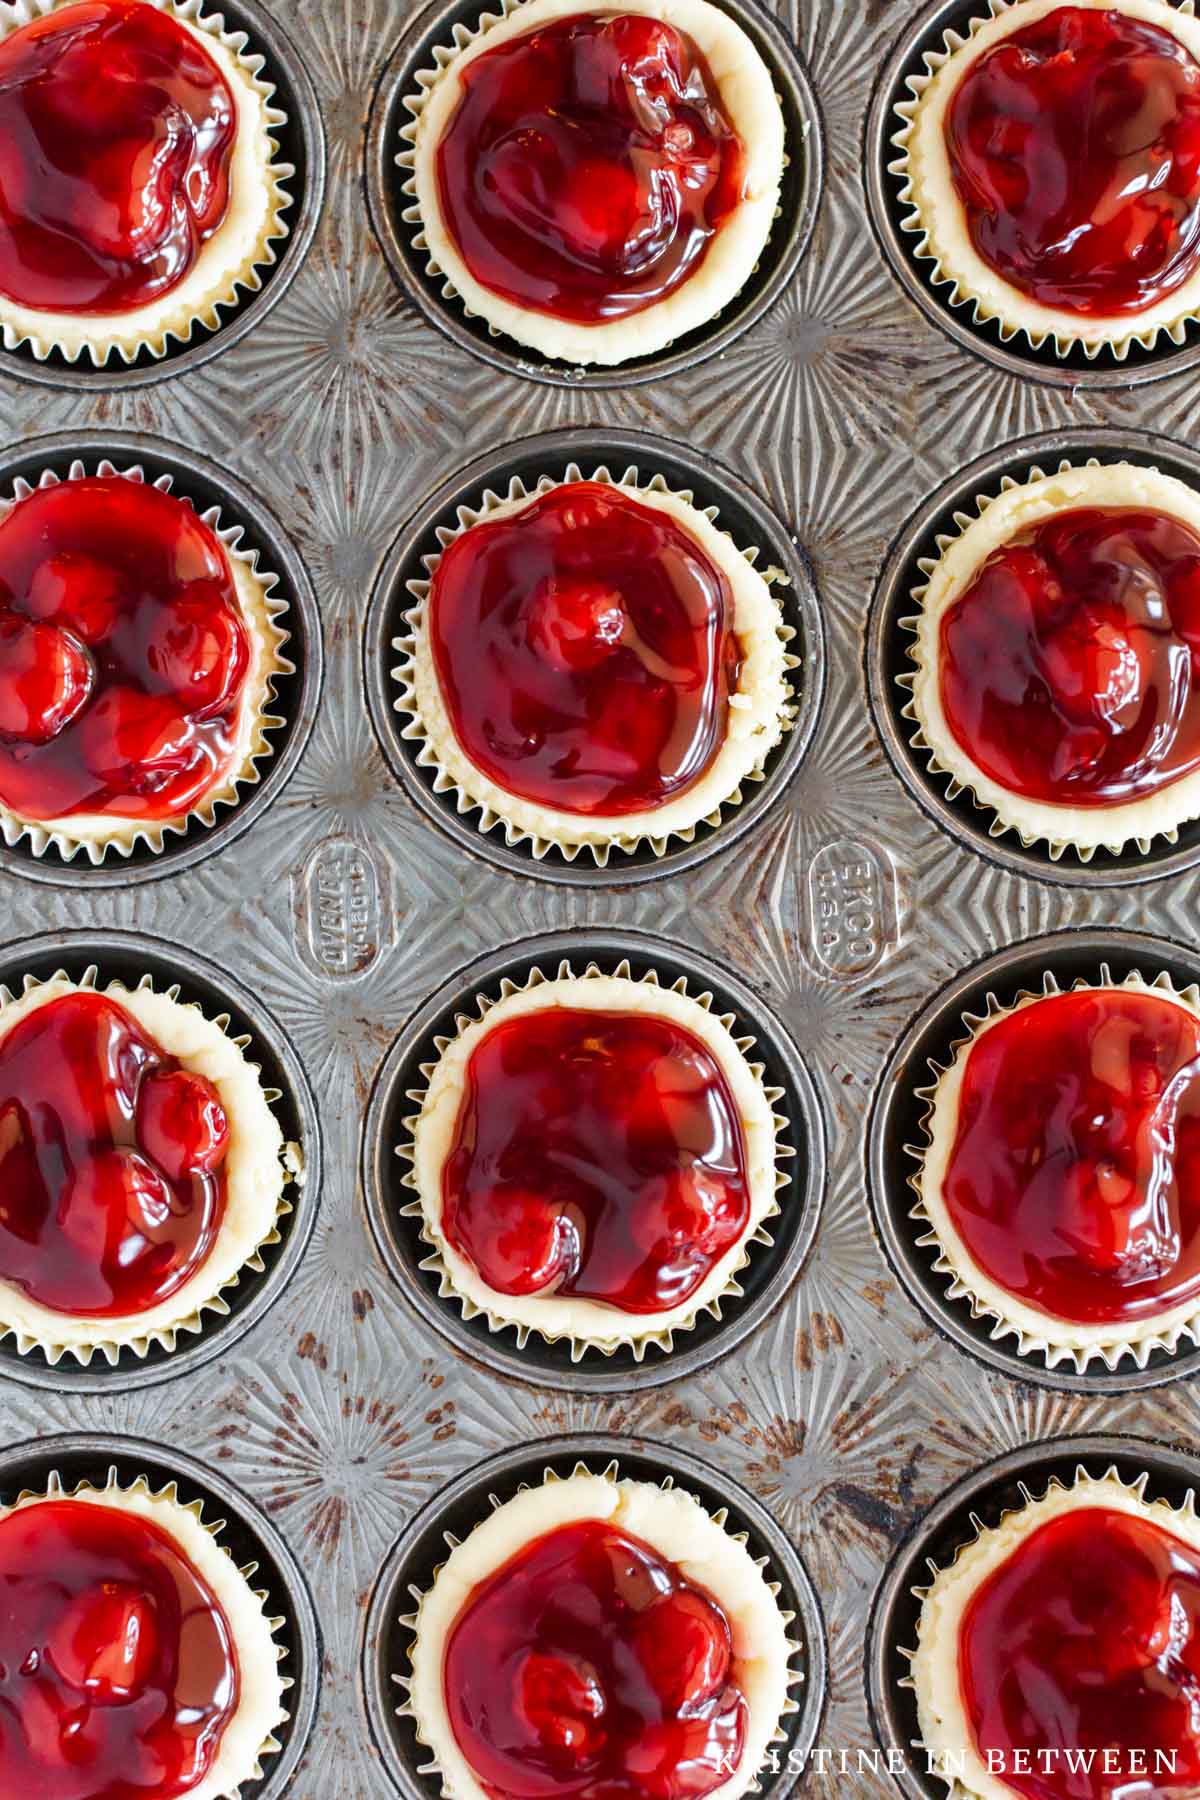
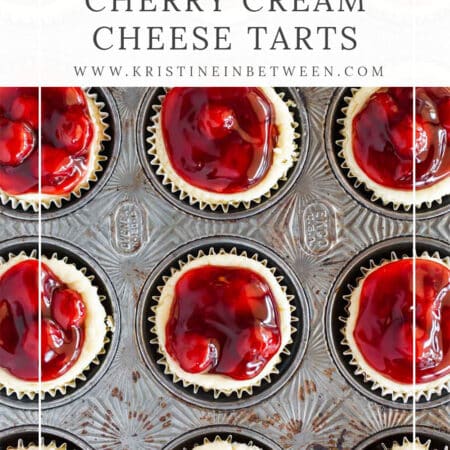
- After they’re cool, add the finishing touch – a generous spoonful of cherry pie filling on top of each tart. Again, spread the pie filling out equally among all the tarts (I try to use it all, but you don’t have to).
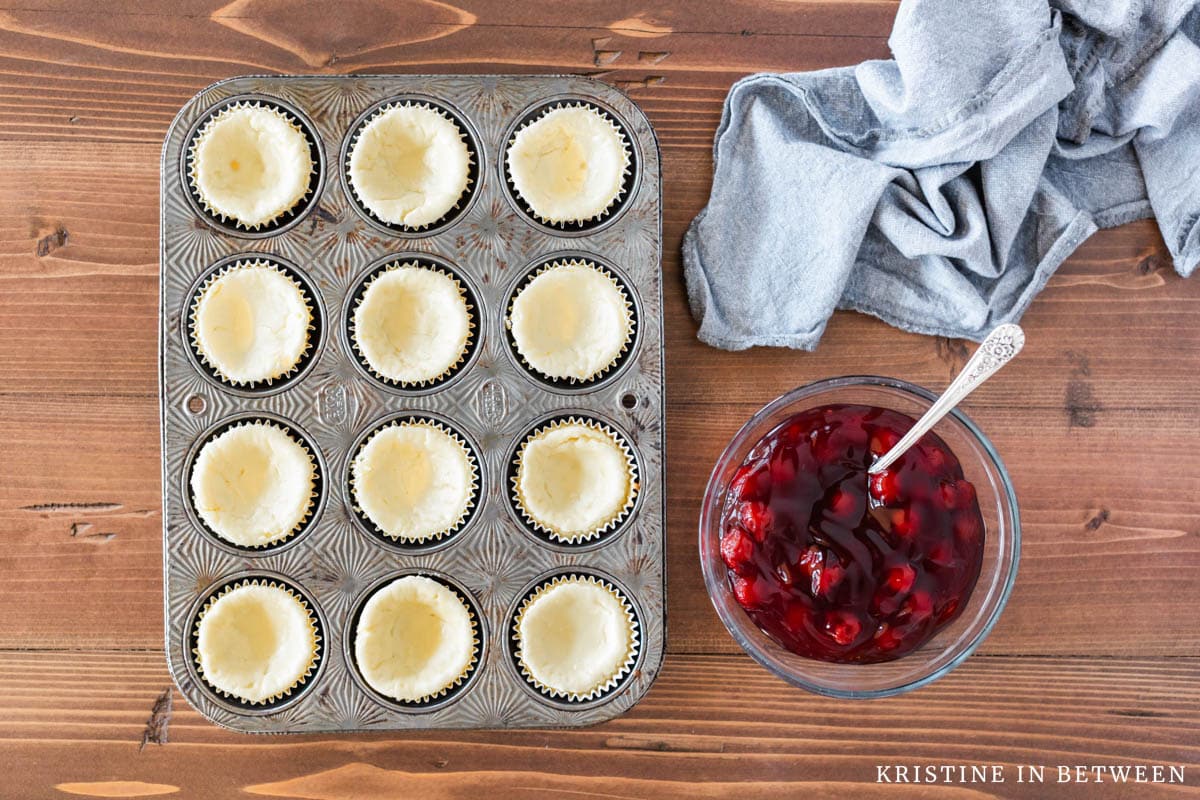
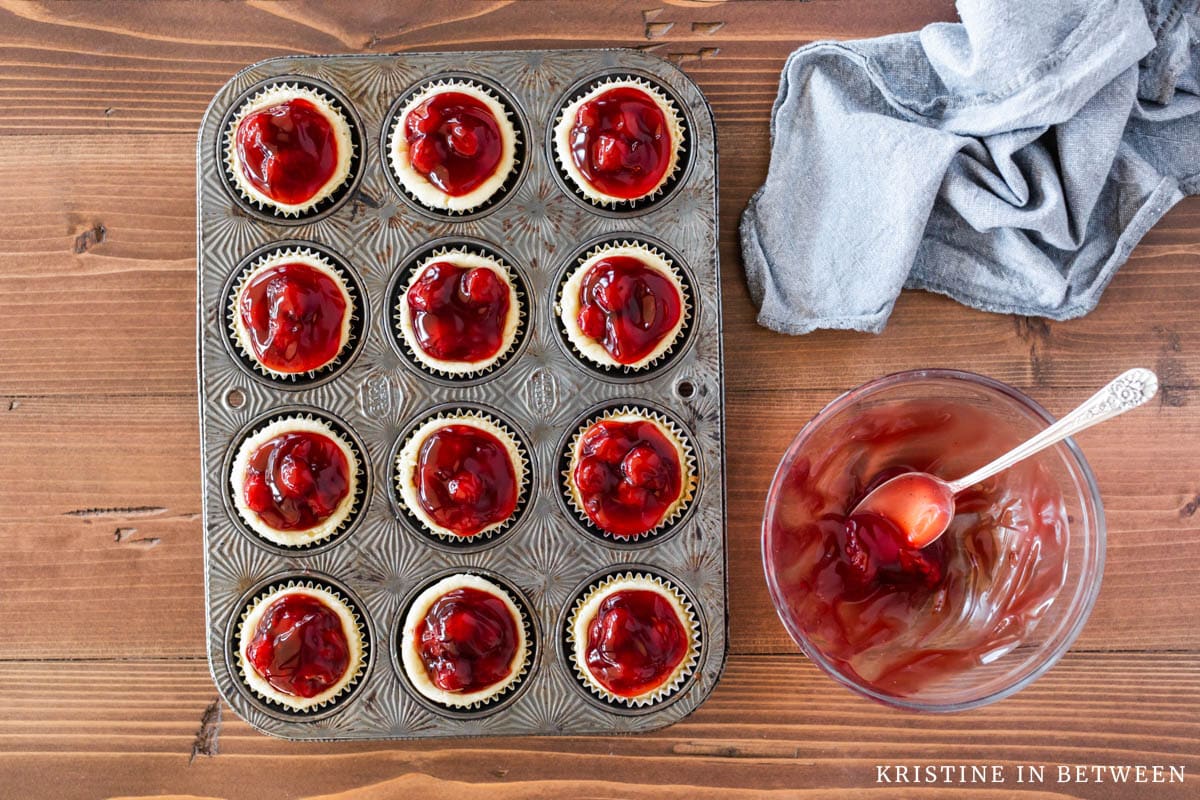
- Finally, pop your tarts into the fridge to chill for a bit (about an hour to be exact). This final chilling is crucial, it allows the tarts to firm up a bit and the flavors really blend together.
Tip
During baking, the tarts will puff up quite a bit. Don’t be alarmed. As they cool, they’ll sink in and create the most perfect divot for the cherry filling.
Why These Tarts Are So Good
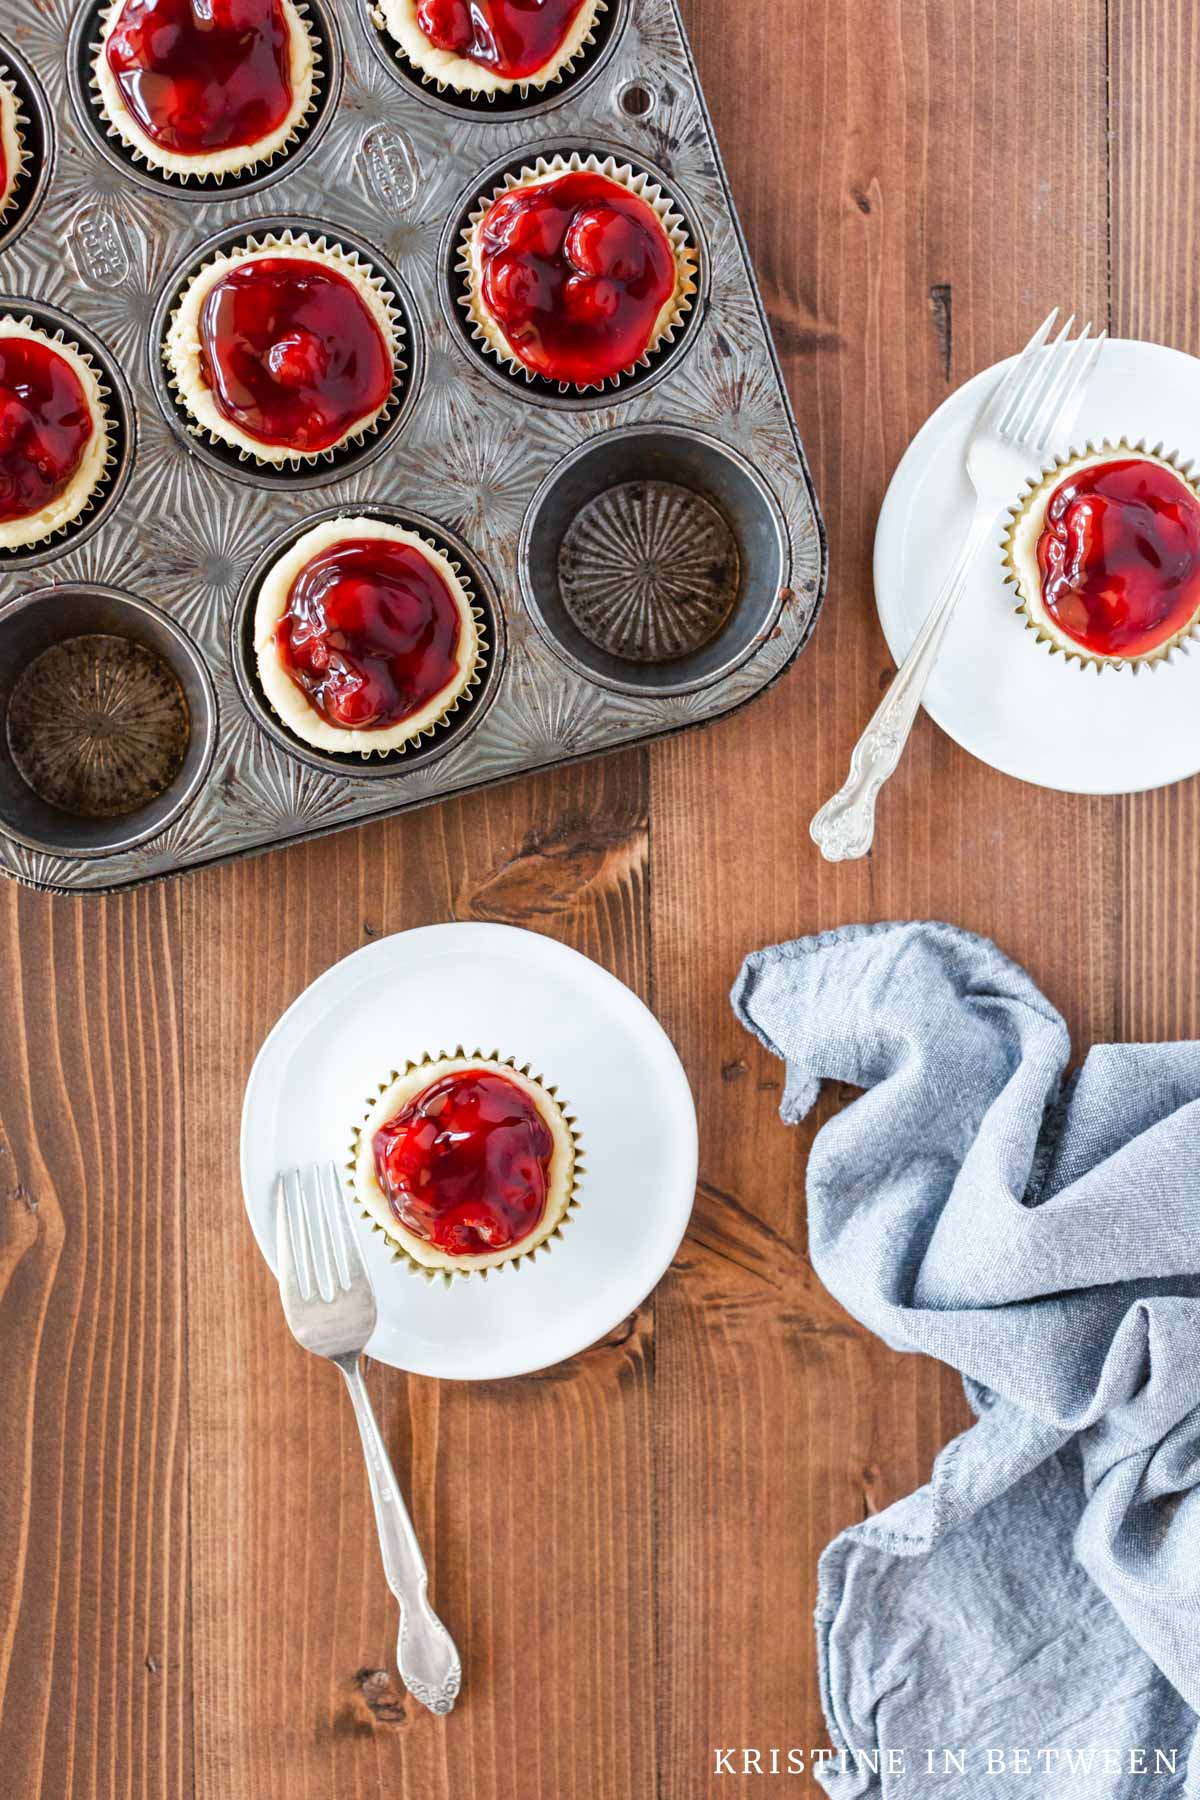
Now that your tarts are ready to rock and roll, let’s talk about why they’re so dang good. First off, the combination of creamy cheesecake filling and tangy cherry topping is pretty much a match made in dessert heaven.
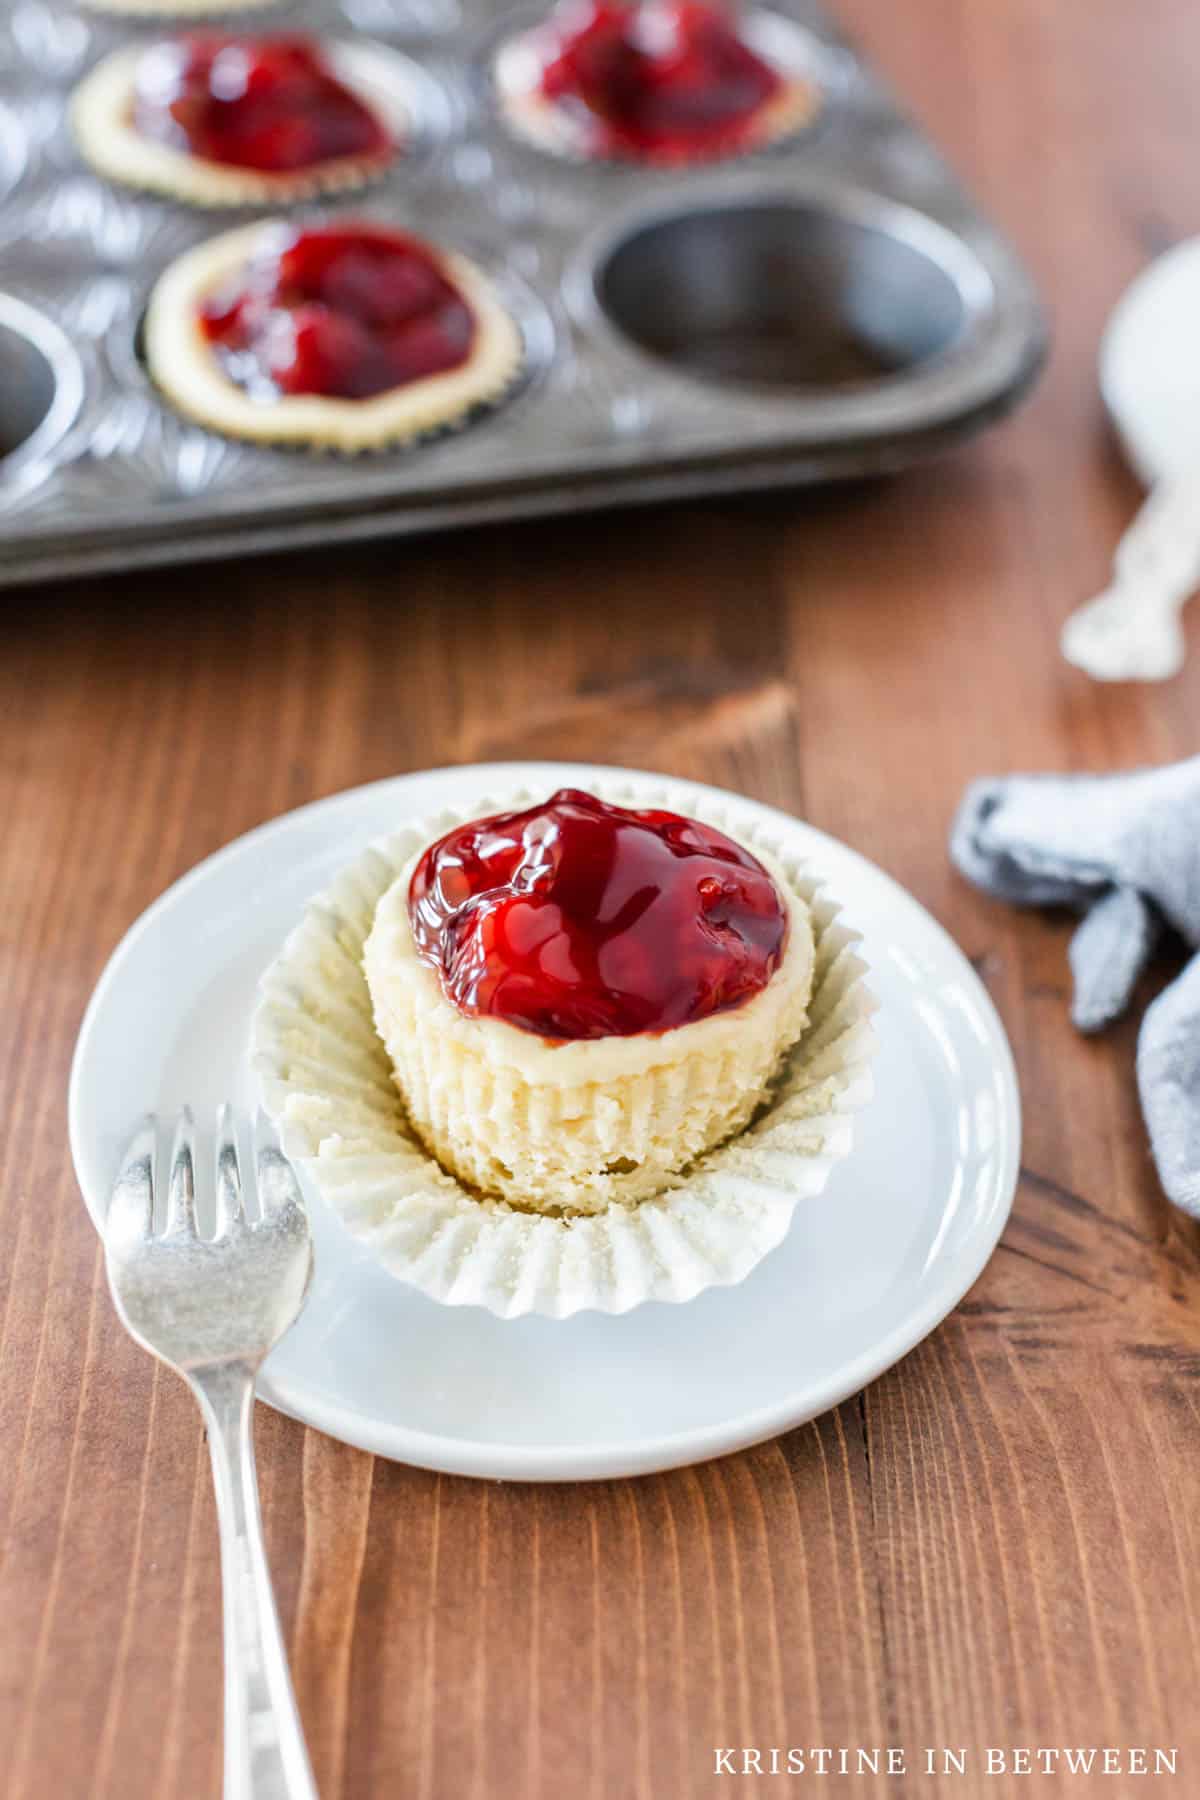
And let’s not forget about their small, individualized size. They’re just perfect for sharing and transporting. There’s nothing better than a grab-and-go cherry cheesecake, am I right?
If you love cream cheese, you’ll love these Cream Cheese Cookies or this Cheesecake Mousse too!
More Fun Ways to Top the Tarts
While cherry pie filling is a classic topping for these cream cheese tarts, you can certainly get creative and try out different toppings to add some variety. Here are a few delicious ideas:
- Mixed Berry Compote: Cook together a combination of strawberries, blueberries, raspberries, and blackberries with a bit of sugar and lemon juice until they break down into a thick, syrupy compote. Spoon this fruity mixture over your cream cheese tarts for a burst of berry flavor.
- Lemon Curd: Tangy and refreshing, lemon curd adds a zesty contrast to the creamy filling of the tarts. Simply spoon a dollop of lemon curd over each tart and garnish with a twist of lemon zest.
- Chocolate Ganache: Indulge your sweet tooth by drizzling rich and decadent chocolate ganache over the top of your cream cheese tarts. You can even sprinkle some chopped nuts or shredded coconut on top for added texture and crunch.
- Fresh Fruit Slices: For a lighter option, top your tarts with slices of fresh fruit such as strawberries, kiwi, or peaches. Not only does this add a colorful touch to your dessert, but it also provides a refreshing contrast to the rich, creamy filling.
- Caramel Sauce: Elevate your cream cheese tarts with a generous drizzle of homemade or store-bought caramel sauce. The sweet and buttery flavor of the caramel complements the richness of the cream cheese beautifully.
The Best Way to Store the Tarts
Now, let’s address the important question – how do you keep these tarts fresh and delicious? Easy. Just pop them into an airtight container and store them in the fridge for up to 5 days. Take one (or two) out as needed. Though, let’s be honest, they probably won’t be around that long, haha.
Questions About This Recipe
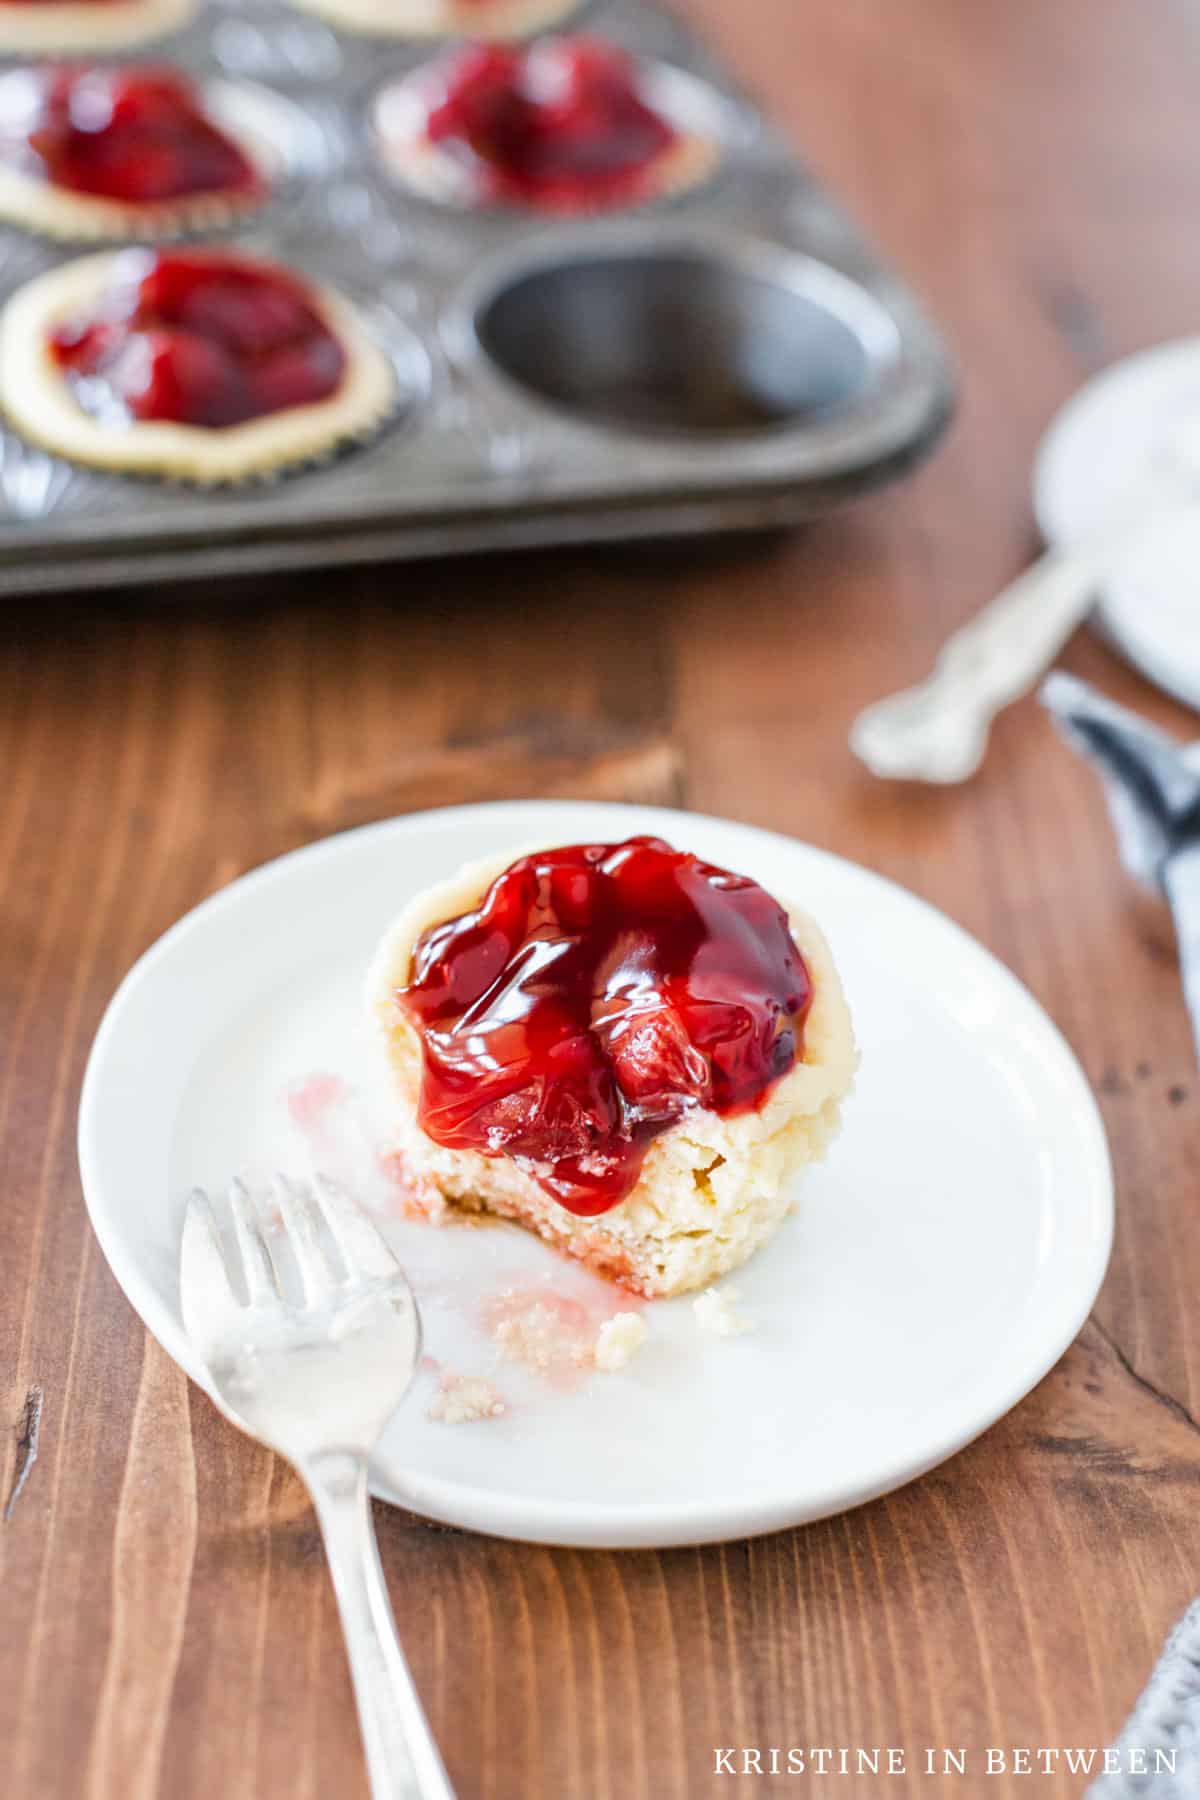
So, whether you’re baking for a special occasion or just treating yourself (or someone you love), these simple, but also fancy cherry cream cheese tarts are 100% sure to steal your heart. Give them a try and let me know what you think. Happy Valentine’s Day, loves!
Sweet Valentine’s Day Treats For You

download our free
Meal Planner & Grocery List
dinner made easy
Cherry Cream Cheese Tarts
Ingredients
- 12 vanilla wafers
- 16 ounces cream cheese
- 1/2 cup sugar
- 2 eggs
- 2 tsp vanilla extract
- 1 can cherry pie filling
Instructions
- Preheat oven to 375 degrees. Line 12 muffin cups with paper liners and place a vanilla wafer in the bottom of each cup. Set aside.12 vanilla wafers
- In a large mixing bowl, mix cream cheese, sugar, eggs, and vanilla extract together with an electric mixer until smooth.16 ounces cream cheese, 1/2 cup sugar, 2 eggs, 2 tsp vanilla extract
- Fill each muffin cup with the cream cheese mixture.
- Bake tarts for 15 minutes until set.
- Remove from oven and allow tarts to cool completely.
- Top with cherry pie filling and refrigerate.1 can cherry pie filling
- Store tarts in the refrigerator for up to 5 days.
Nutrition
Tagged:
- Fourth of July
- /
- Oven
- /
- Spring
- /
- Summer
- /
- Valentine's Day
- /
- Winter



These tarts are just like some my grandam used to make! I am so happy to have found this recipe. The tarts are yummy and nostalgic for me. I give them an 11!
Hey Sharon! This made me smile because my mom used to make these for me when I was little too. This is also a very nostalgic and special recipe to me. I’m really glad you loved them, and thanks so much for the comment!
Hello. Can you freeze these with the cherry pie topping?
These are just like mini cherry cheesecakes! Delicious and such a fun dessert idea. 🙂
Exactly Carrie! Portable cheesecakes LOL! Thanks so much.
Made these delicious bite sized tarts for my family and they loved them so much I only got one. Definitely a good problem. I will be making them again this weekend. Thank you!
That’s the best kind of problem actually! Haha! Thanks so much Ned – glad you enjoyed the tarts!
I love how easy these were to make. I had some leftover homemade lemon curd in the fridge so I used that in place of the cherry pie filling and the were fantastic. Thanks for the quick, easy, and delicious recipe idea.
Thanks so much Holly! Next time I have some lemon curd, I’m doing to do a few that way too. It sounds like the best combo!
This was everything a gourmet dessert should be, and then some! These are easy, decadent and delicious!
Well, if this isn’t the most perfect description Sara! Thank you! Thrilled to hear they were a success!
Cherry Tarts are always the right answer. What a great recipe! Nicely done.
Thank you so much Jackie! I couldn’t agree more!
This recipe was made so easy to follow because how thorough you were in your description and directions.
Thank you. Still in the oven but seem to be doing exactly what they should.
Fantastic! This makes me so happy, Judy. Thanks so much for the feedback, I truly appreciate it!
I love these little sweet treats however I can no longer find vanilla wafers (“Nilla Wafers”). Do you have any cookie/crust suggestions for a similar end result?
Hi Sherry! Me too, these are a classic in our house. Well gosh, that’s a huge bummer about the Nilla Wafers. I’d think a shortbread cookie or maybe even an animal cracker type cookie would be my suggestion, though I’ve never actually tried either. Let me know what you try and how they come out. Happy baking!