Making A Sourdough Starter
This post contains affiliate links and we make a small commission for purchases made using these links.
So, I’m really late to the sourdough starter party, but I’ve finally arrived. If you’re a beginner with no prior knowledge of sourdough, don’t worry. I was too. I’m going to walk you through the process of creating your very own sourdough starter from scratch, and it’s easy. I promise, don’t overthink this.
First Of All, What is Sourdough Starter?
A sourdough starter is a fermented mixture of flour and water that contains wild yeast and bacteria. It acts as a natural leavening agent for baking sourdough bread, giving it that distinct tangy flavor and airy texture.
Ingredients and Tools You Need
Flour: You’ll need whole wheat flour to start and unbleached all-purpose flour for feeding your starter.

download our free
Meal Planner & Grocery List
dinner made easy
Tip
I recommend using the King Arthur brand Whole Wheat Flour and All-Purpose flours – they’re great.
Water: Use filtered water to avoid chlorine, which can inhibit the growth of wild yeast.
Jar or Container: A glass or plastic container with a loose lid or cloth cover will work. It should be large enough to allow the starter to grow. Wide mouth mason jars make the perfect container for starters.
Food Scale: Precision is key in baking, so a kitchen scale is preferred for measuring ingredients accurately.
Step-by-Step Guide to Making Your First Sourdough Starter
Day 1: Mixing
- Combine Ingredients: In your container, mix 60 grams of whole wheat flour with 60 grams of water. Whole wheat flour is great for the initial mix because it’s rich in nutrients that feed the yeast and bacteria.
- Stir and Cover: Stir until smooth, and cover the container with a loose lid or cloth. This allows gases to escape while keeping the mixture protected.
- Rest: Leave the container at room temperature (ideally around 70-75°F) for 24 hours.
Day 2: Watching
- Observe: By the second day, you might see some bubbles and notice a slight rise in the mixture. This is a good sign that fermentation is beginning. Let it rest for another 24 hours.
Day 3-6: Feeding
- Feed Your Starter: Discard about half of your starter, leaving roughly 60 grams in the container. Add 60 grams of unbleached all-purpose flour and 60 grams of water to the remaining starter. Mix well, cover, and let it rest for 24 hours.
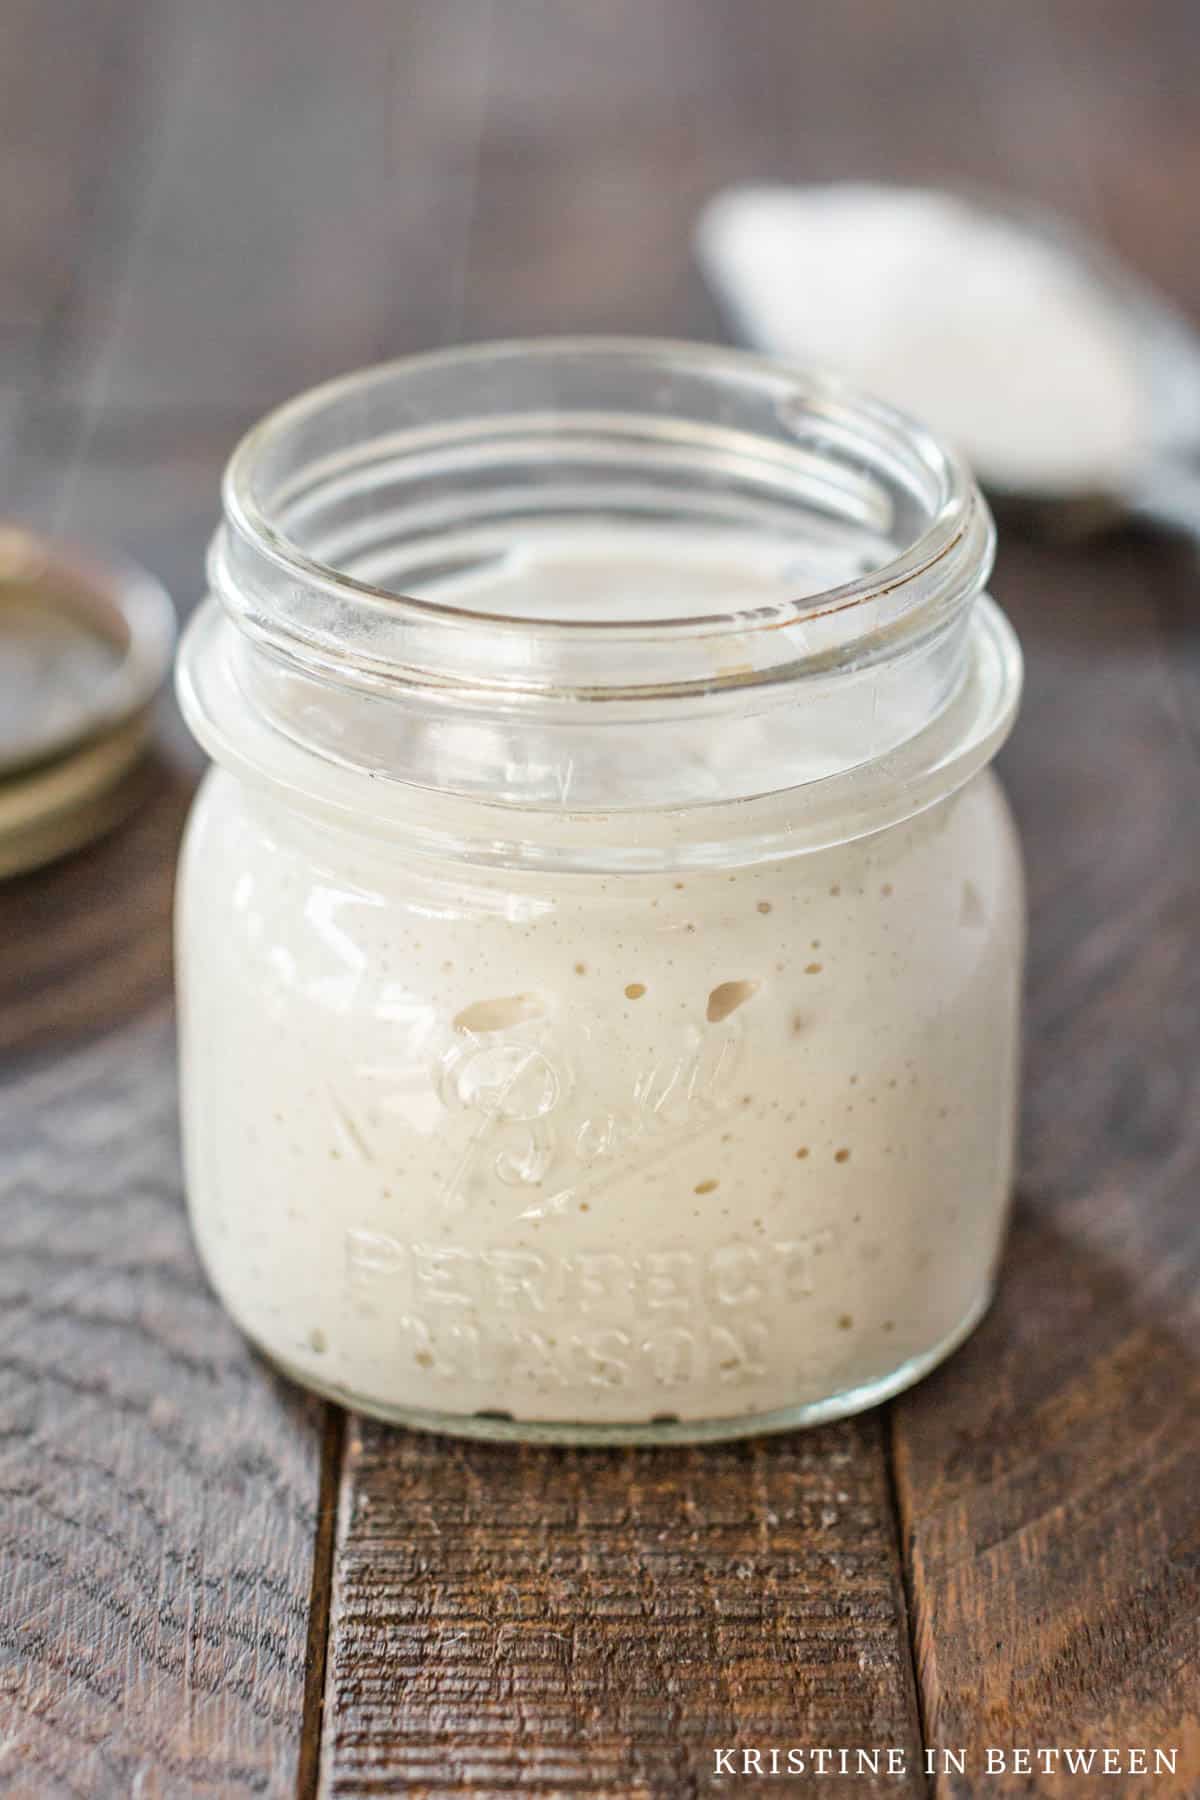
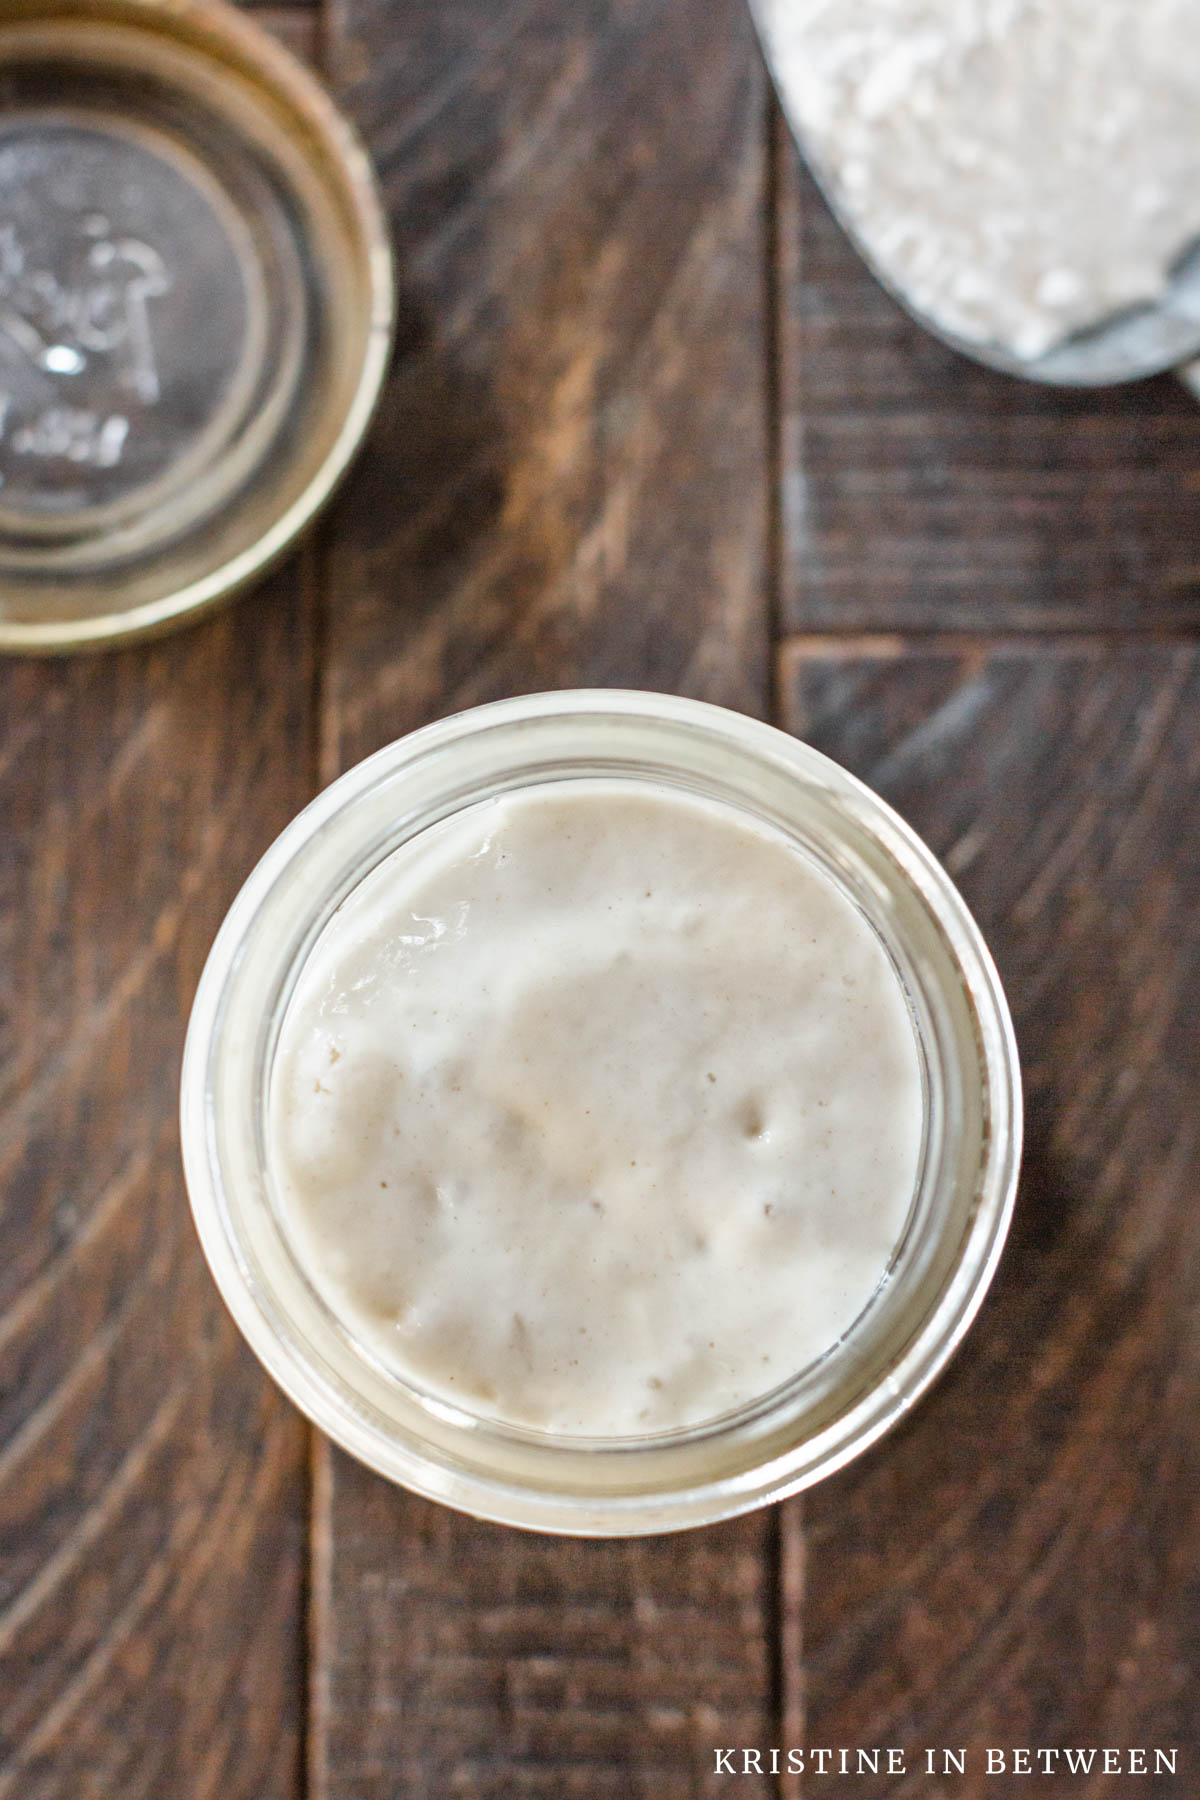
- Repeat: Continue this feeding process daily. The starter should become more active, doubling in volume between feedings, and develop a pleasantly sour smell.
Day 7: Ready to Use
In most cases, the starter is ready on day 7, but this isn’t always the case. If the temperature is too low in your kitchen, it can take longer. It’s completely normal if it’s not ready on day 7. Just continue the daily feedings for another week (or even two). Patience, patience, patience.
- Active and Bubbly: Your starter should now be active, bubbly, and ready to use for baking. It should double in size within 4 to 6 hours after feeding.
- Maintain Your Starter: Keep feeding your starter daily if kept at room temperature, or weekly if stored in the refrigerator.
Tips for Success
Consistency is Key: Feed your starter at the same time each day to encourage regular yeast activity.
Watch the Temperature: Sourdough starters prefer a warm environment. If your kitchen is cold, find a warmer spot to encourage fermentation (70-75°F).
Use the Discard: Don’t throw away the discard from feedings. It can be used in pancakes, waffles, or cookies. I don’t recommend baking with the initial set of discards from the first week. Let the starter fully activate before using the discard for breads and goodies.
Questions About Sourdough Starters
I can speak from experience when I tell you that creating a sourdough starter is a hugely rewarding experience. It connects you to the age-old tradition of bread making. With a little patience and care, you can have a thriving sourdough starter that can last for years, and make countless loaves of delicious sourdough bread (or pancakes, cookies, pizza crust, and banana bread – go crazy!). Happy baking, my friends.
Making A Sourdough Starter
Ingredients
- 60 grams whole wheat flour
- 60 grams filtered water
Instructions
Day 1:
- Combine whole wheat flour and water in a glass jar and cover loosely.60 grams whole wheat flour, 60 grams filtered water
Day 2:
- Observe starter for bubbles, which may or may not be present. Let starter rest for another 24 hours.
Day 3-6:
- Discard approximately half of the starter and feed with 60 grams unbleached all-purpose flour and 60 grams filtered water.
Day 7:
- If your starter has doubled in size and has plenty of bubbles, it's ready to use. If the temperature is too cold in your house, the starter may take up to 2 weeks to activate and be ready to use.
Storage:
- You have two options, on the counter or in the refrigerator. If you store your starter on the counter because you bake often, you'll need to feed it everyday at the same time. If you store your starter in the refrigerator, you'll need to feed it weekly on the same day, at the same time.
Notes
Nutrition
Tagged:
- Breads & Muffins
- /
- Fall
- /
- Oven
- /
- Spring
- /
- Summer
- /
- Whole Food
- /
- Winter


