How To Heat Treat Flour in the Microwave
This post contains affiliate links and we make a small commission for purchases made using these links.
If you love cookies and cookie dough as much as I do, you might occasionally sneak a bite (or two) before the cookies make it to the oven (…me). But we all know that eating raw cookie dough isn’t the best idea. Flour might seem harmless, but eating it raw could pretty much ruin your day. I’ve got great news for you though. You can quickly and easily heat treat flour in the microwave. Yes, the microwave!
So, Why Heat Treat Flour?
Before we get into the how, let’s talk about the why. Raw flour, just like raw eggs, can contain harmful bacteria like E. coli. These bacteria can cause all sorts of tummy unpleasantness, which is the last thing we want when eating our favorite cookie doughs and brownie batters, am I right?
Heat treating flour kills off the nasty bacteria, making it safe to use in edible doughs, no-bake recipes, and for sneaking a little taste here and there. Plus, it’s super easy and quick to do, especially in the microwave.

download our free
Meal Planner & Grocery List
dinner made easy

How to Heat Treat Flour in the Microwave
Step 1: Gather Your Tools and Ingredients
You’ll need:
- All-purpose flour (or whatever flour your recipe calls for)
- A microwave-safe bowl
- A thermometer (optional, but super handy)
- A spoon or whisk
Step 2: Measure and Transfer
Measure out the amount of flour you need for your recipe. Transfer it to a microwave-safe bowl, making sure it’s big enough to whisk or stir the flour without making a giant mess.
Step 3: Heat It Up
Pop the bowl into the microwave. Heat the flour on high for about 30 seconds at a time. After each interval, give it a good stir to ensure even heating. Repeat this process for a total of 1-2 minutes. You’re aiming for the flour to reach a temperature of 165°F (74°C), which is the magic number for killing off those bacteria.
Step 4: Cool It Down
Once you’ve hit that safe temperature, let the flour cool completely before using it in your recipe. This step is crucial because hot flour can mess with the texture of your dough or batter. Just let it chill out for a bit, and you’re good to go.
Tips and Tricks for Heat Treating Flour
- Use a Thermometer: If you have a kitchen thermometer, use it! It takes the guesswork out of the process and ensures your flour is safe.
- Even Heating: Stirring the flour between heating intervals is key. It helps distribute the heat evenly, so no sneaky bacteria survive.
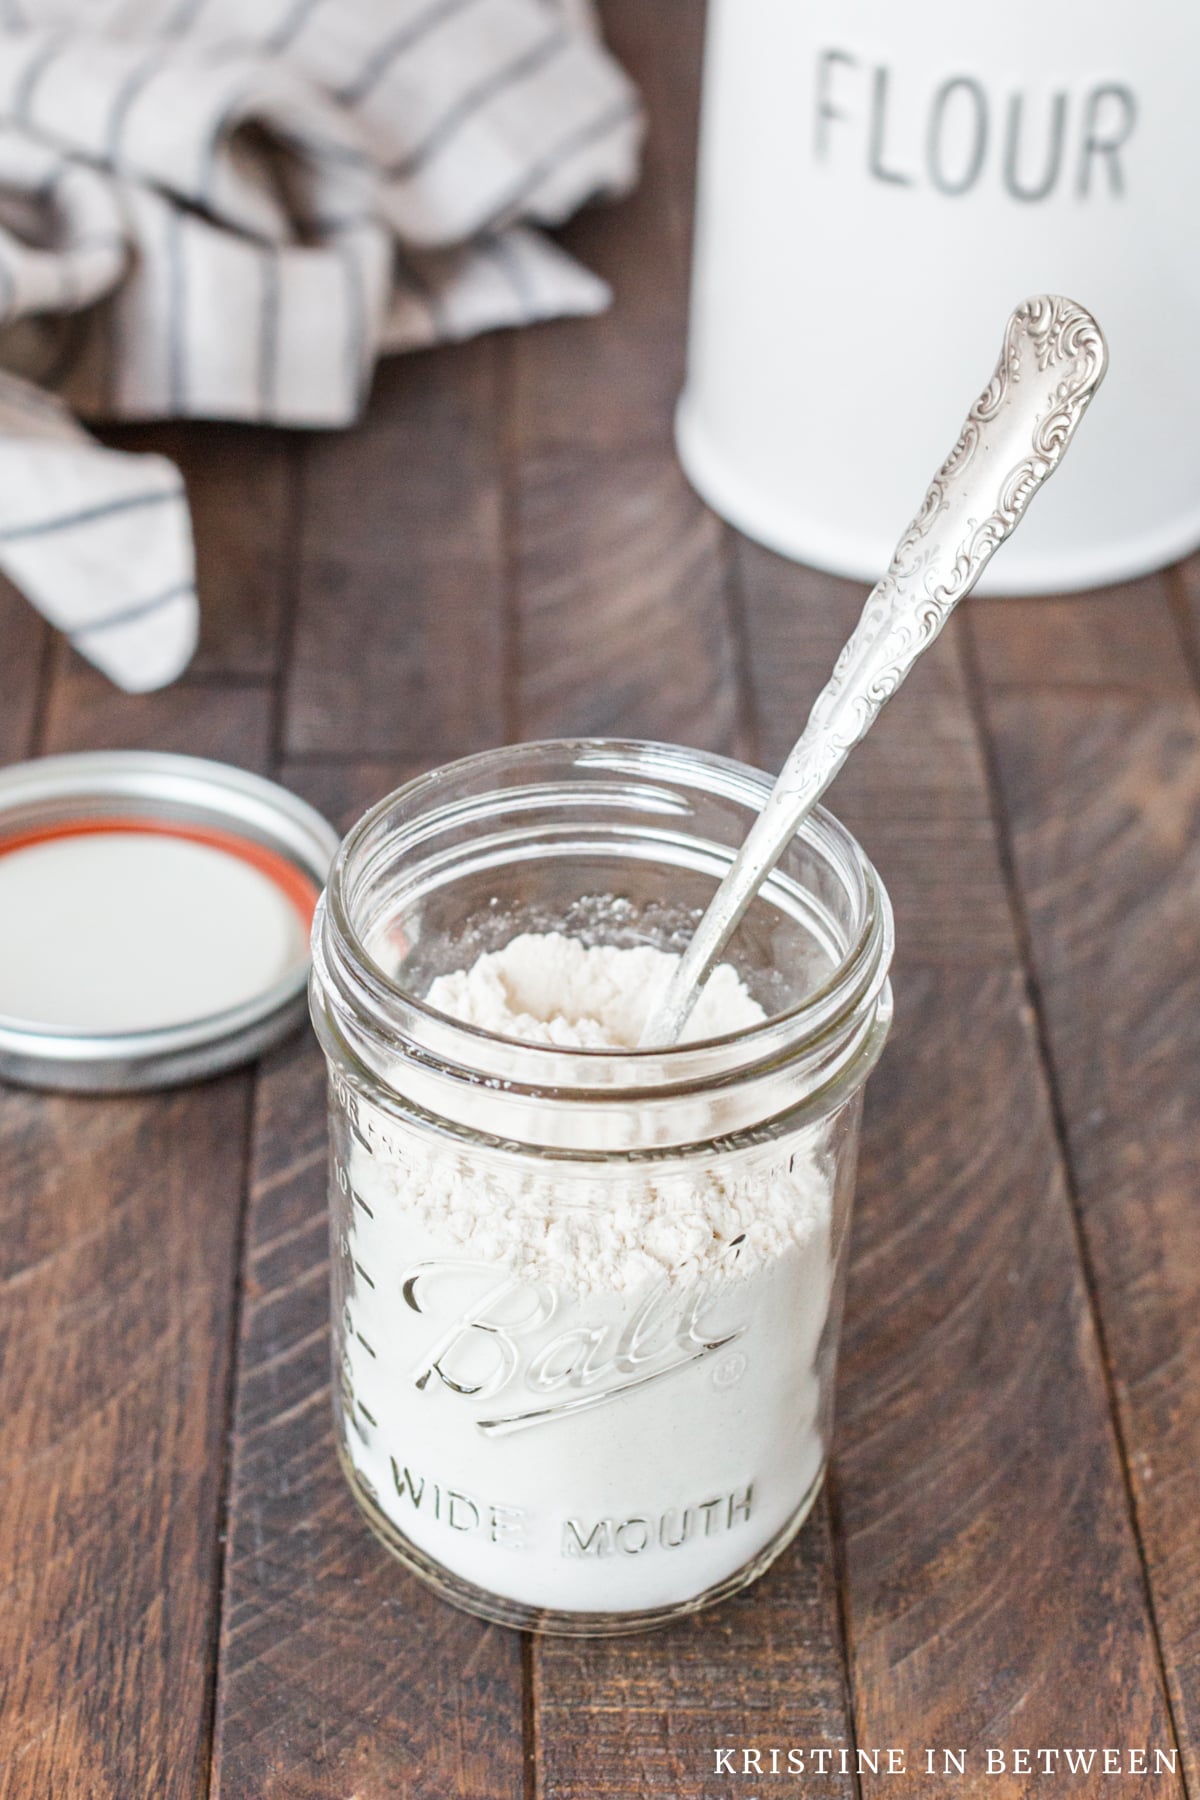
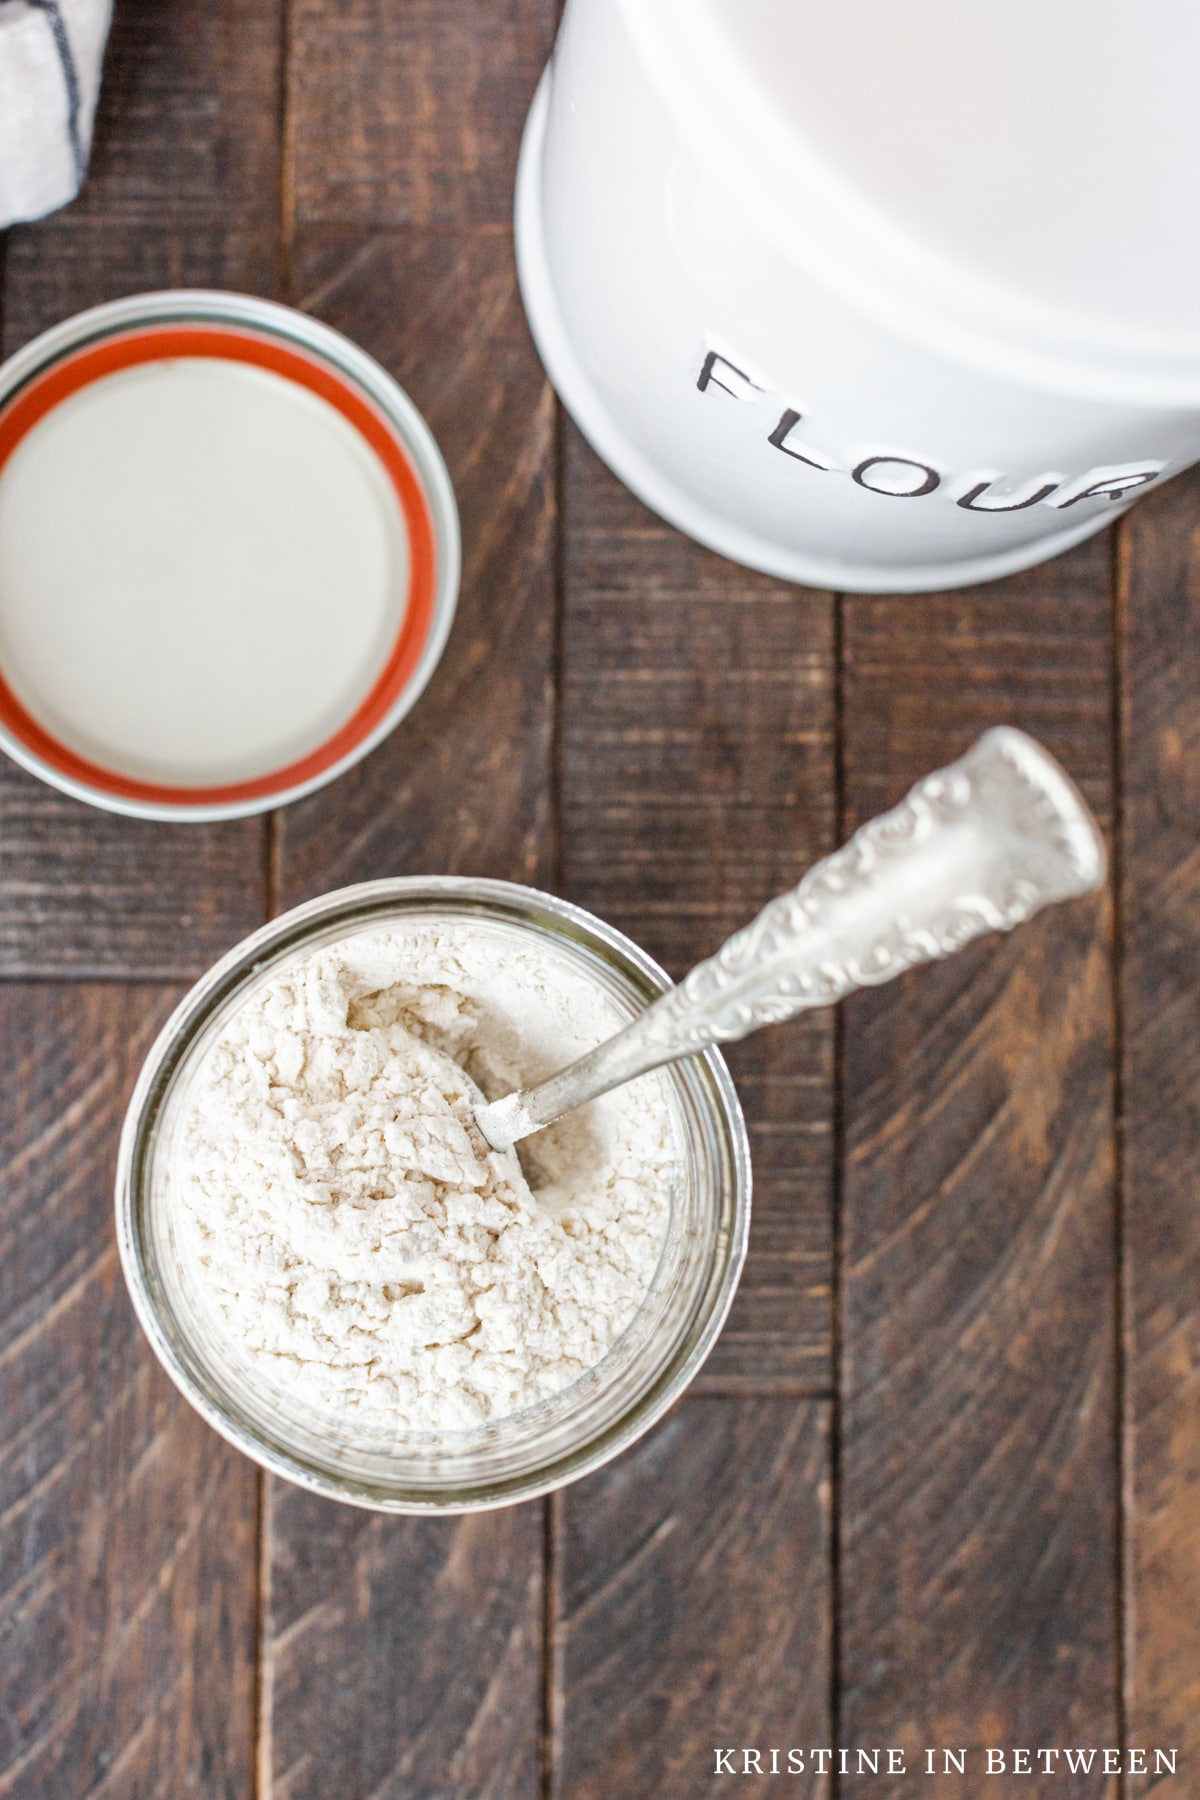
- Batch It: This is my favorite one. If you find yourself heat treating flour often (I see you, fellow cookie dough lovers), consider doing larger batches. You can store the treated flour in an airtight container for future use.
Making Your Baking Even Better
Now that you’ve mastered heat treating flour in the microwave, think about all the delicious possibilities for it! Safe, edible cookie dough, homemade playdough for the kiddos, and no-bake treats just got a whole lot safer. Plus, you can dive into that bowl of dough with zero worries—talk about a win-win!
Keep those ovens preheated, those whisks at the ready, and let’s continue making our kitchens the heart of our homes. Until next time, my friend—happy baking!


