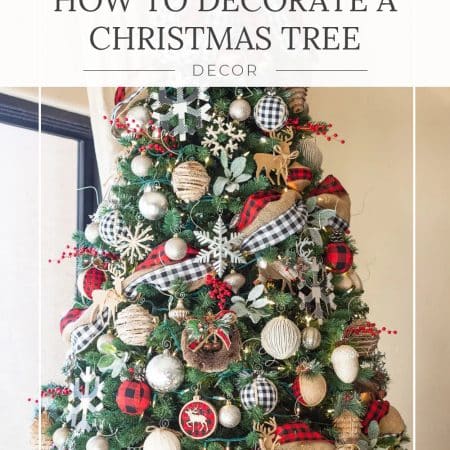
Eeek! My favorite time of year is quickly approaching and I can’t wait to start rolling out everything holiday! I figured this year, I’d start at the very beginning and talk about how to decorate a Christmas tree, since that’s pretty much the very first holiday thing that goes up in my house (in October, haha).
The following tips and tricks are what I use every year, on every tree I decorate. And if you’ve followed me for more than five minutes, you know I decorate a lot of trees!
Christmas Tree Decorating Order
- Tree assembly and setup
- Straightening out the branches
- Lights, lights, lights
- Ribbon
- Ornaments
- Accessories
- Tree topper
- Tree skirt
Before you even start to think about tree decor though, it’s super important to start with the Christmas tree basics. That way you have a perfectly fluffy, realistic looking tree to decorate.
ONE & TWO
(the basics)
After you get your artificial tree out of the box, assembled, and into the stand, the single most important thing you need to do, is carefully and thoroughly separate and fan out each and every branch. I’m going to be honest here, this is probably the least fun and most time consuming part, but if you shortcut it, you’ll be disappointed in the end result.
THREE
Once you’ve gotten all the branches straightened and separated and looking like an actual tree, it’s time for lights. If you have a tree that’s pre-lit, consider adding a couple of strings of bigger C9 lightbulbs for some variation and sparkle.
If your tree isn’t pre-lit or (like mine) has lights that are not functional anymore, you’ll want to add several strings of mini lights as well as a few strings of the bigger C9 lights. Using different size lights really makes the tree look magical.
FOUR
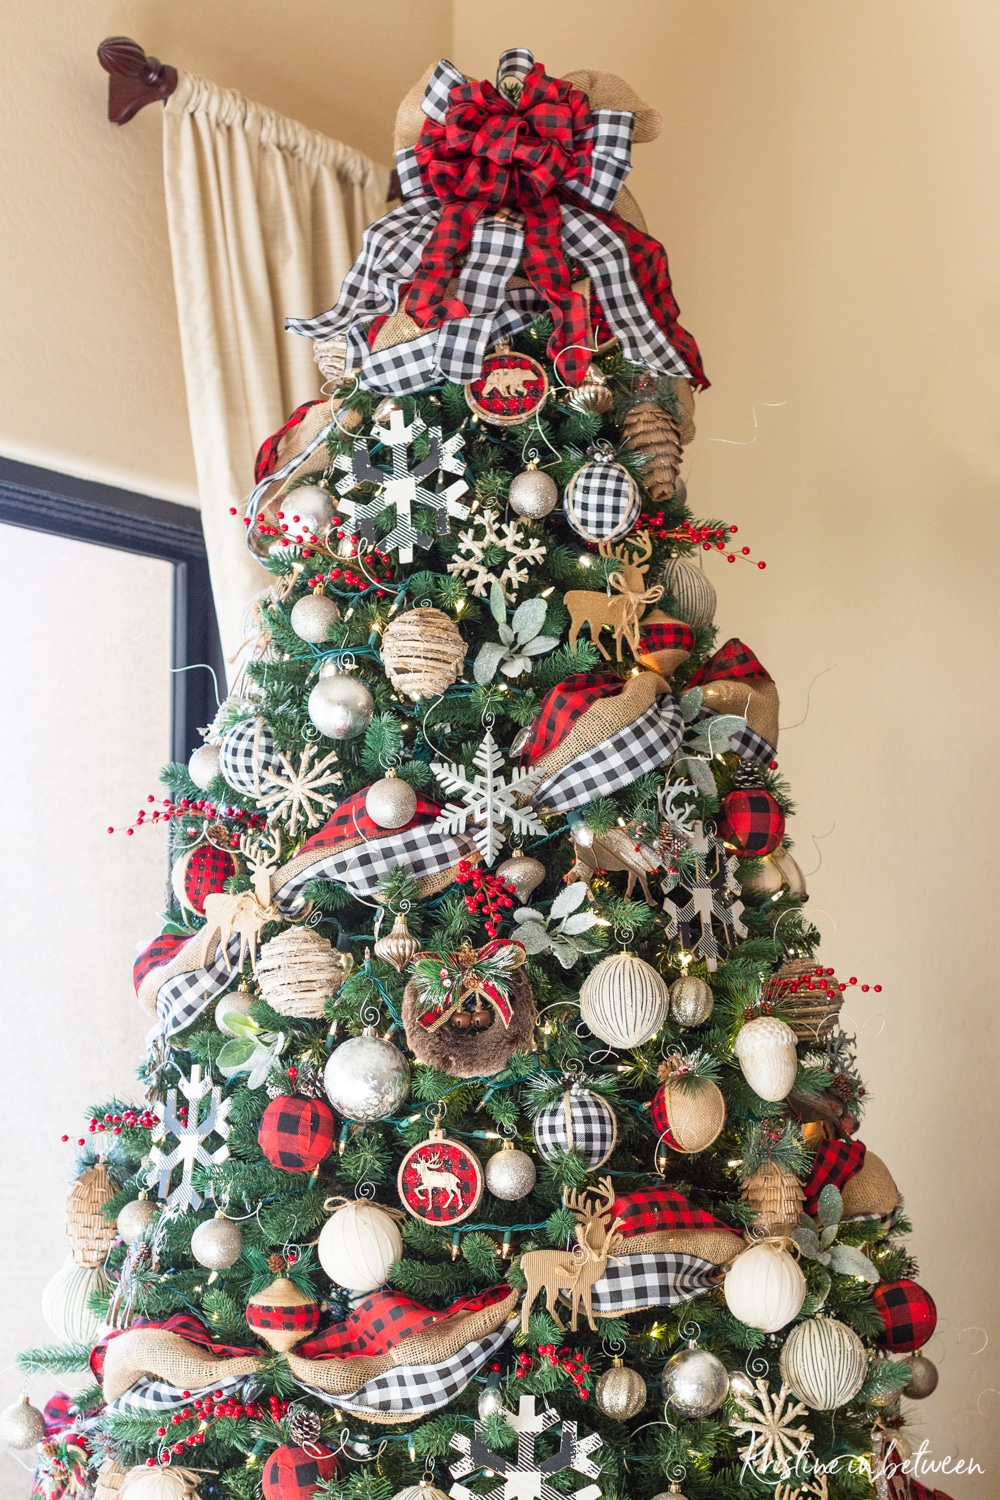
With the lighting done, it’s time for ribbon. You can use one, two, or even three different ribbons, as I did here. Layer the ribbon together at the top to start, then carefully wrap the tree, bunching and tucking the ribbon into various branches as you work your way around. I just let the ribbon trail behind me as I move around the tree.
When you get to the very end, just tuck the ribbon ends into a branch to disguise them.
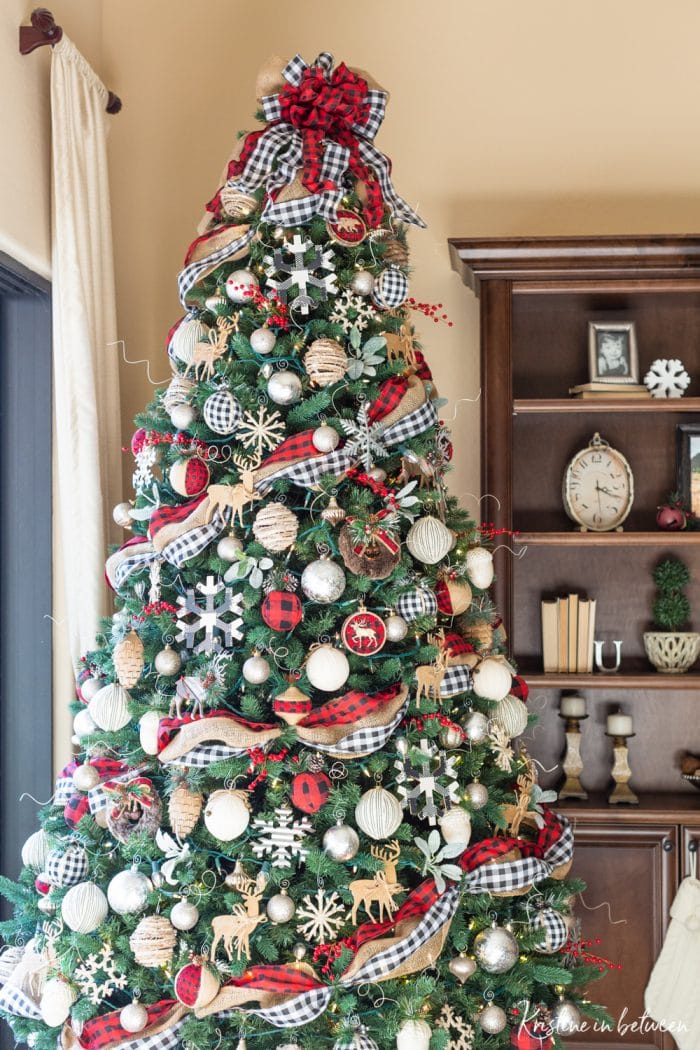
FIVE
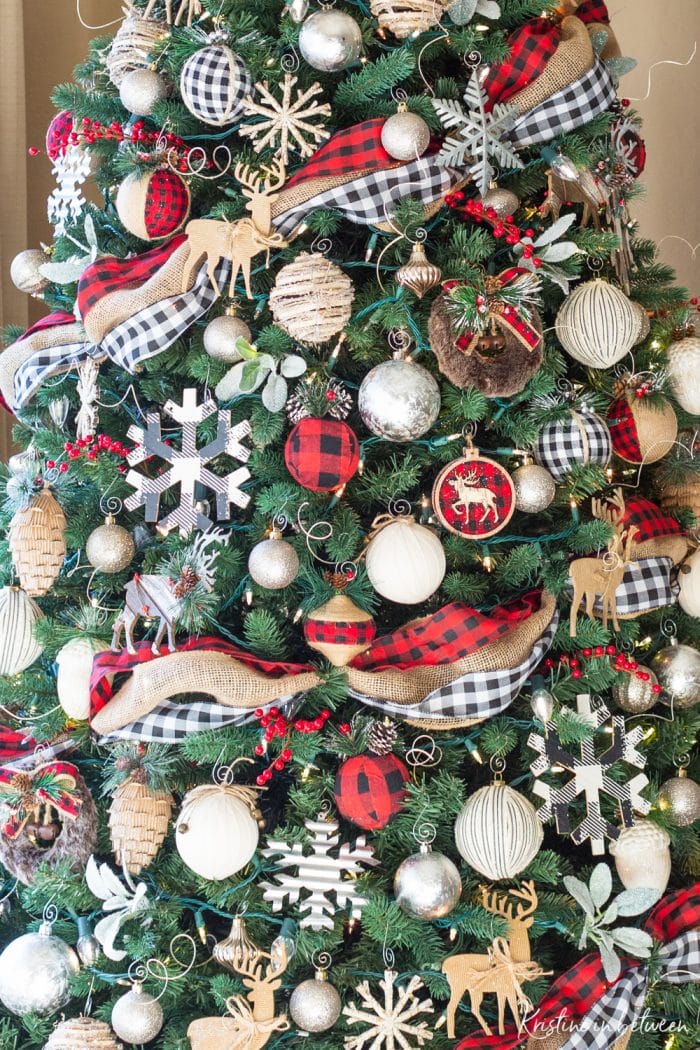
After the ribbon comes the big ornaments. Don’t be afraid to get creative here. I’ve been known to use wooden signs, door hangings, wreaths, anything that calls out to you could technically become an “ornament.” Here I used the large gingham snowflakes and the furry wreathes.
Continue to place ornaments on the tree going down in size from largest to smallest and spread them out as evenly as you can until you’ve covered the majority of the green space with ornaments.
SIX
Now it’s time to get a little OCD. Using your accessories, fill in any holes or empty spaces. Make sure not to have too much of the same color in any given area. Variation is most pleasing, aesthetically. You might need to move things around a few times to find what looks best. Try different things, it’s fun!
SEVEN & EIGHT
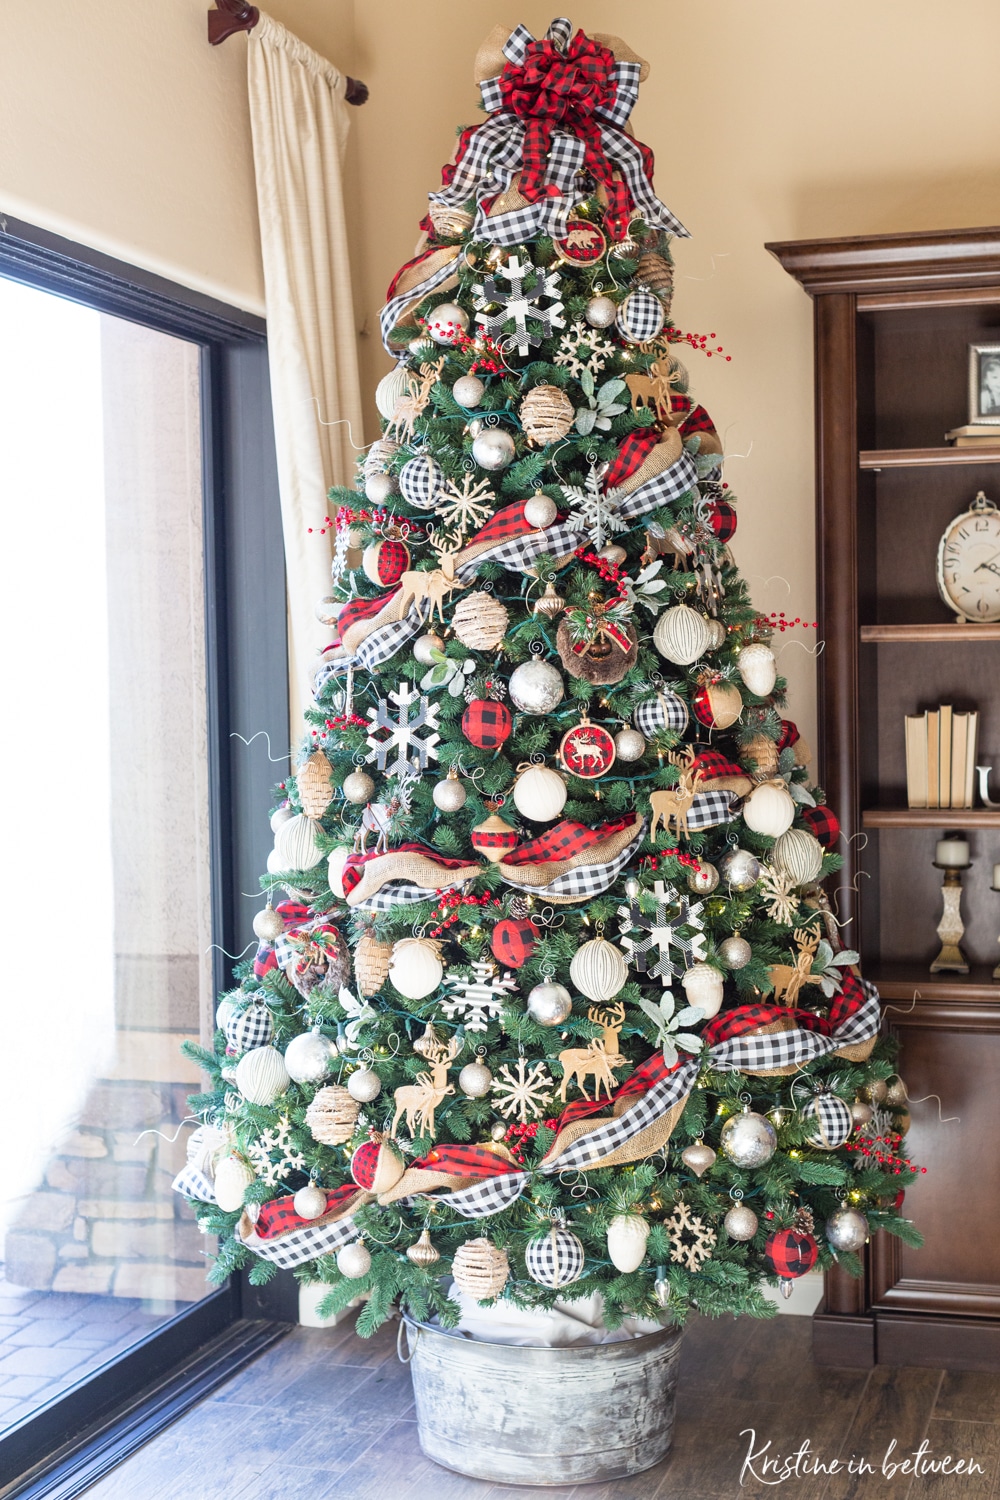
The final two steps are the tree topper and the tree skirt or base cover. Make sure to secure the tree topper really well, so it doesn’t fall down (I had a wicker angel almost take me out 🤪). I usually have my trees in a bucket or basket, so I just gently wrap an old white sheet around the base to cover it up. So simple, yet so pretty.
Don’t Forget to Admire Your Rree!
And finally, dim the lights, take a step back and admire your artwork. Because that’s what decorating a tree really is, a holiday work of art.
To Recap…
top 3 things to remember
When decorating a christmas tree
Pro Tip
I like to plan out my tree decor several months before I actually put the tree up and I always recycle ornaments from prior trees, so I don’t have to buy tons of new decor each year.