Tis the season to be jolly, and what’s jollier than a beautifully decorated Christmas tree? Whether you’re a seasoned holiday enthusiast or a newbie looking to make your first-ever Christmas tree shine, fluffing your tree is the secret ingredient to a stunning centerpiece that will light up your holiday season. Let’s talk about how to fluff a Christmas tree properly.
Step 1: Choose the Right Tree
Alright my friends, before we get into fluffing, remember you need the right tree. Whether it’s a real pine or an artificial beauty, ensure it’s the right size and shape for your space. Measure your ceiling height, considering the topper, and choose a tree that fits snugly. No one wants a teeny tree, haha.
Step 2: Assemble Your Tools
Gather your fluffing toolkit – gloves to protect your hands, a broom and dustpan/vacuum for tidying up the needles that will undoubtedly fall off, and some a whole lot of patience. A cup of hot cocoa and your favorite holiday playlist can also set the mood for this festive activity.
Step 3: Start with the Bottom Branches Closest to the Trunk
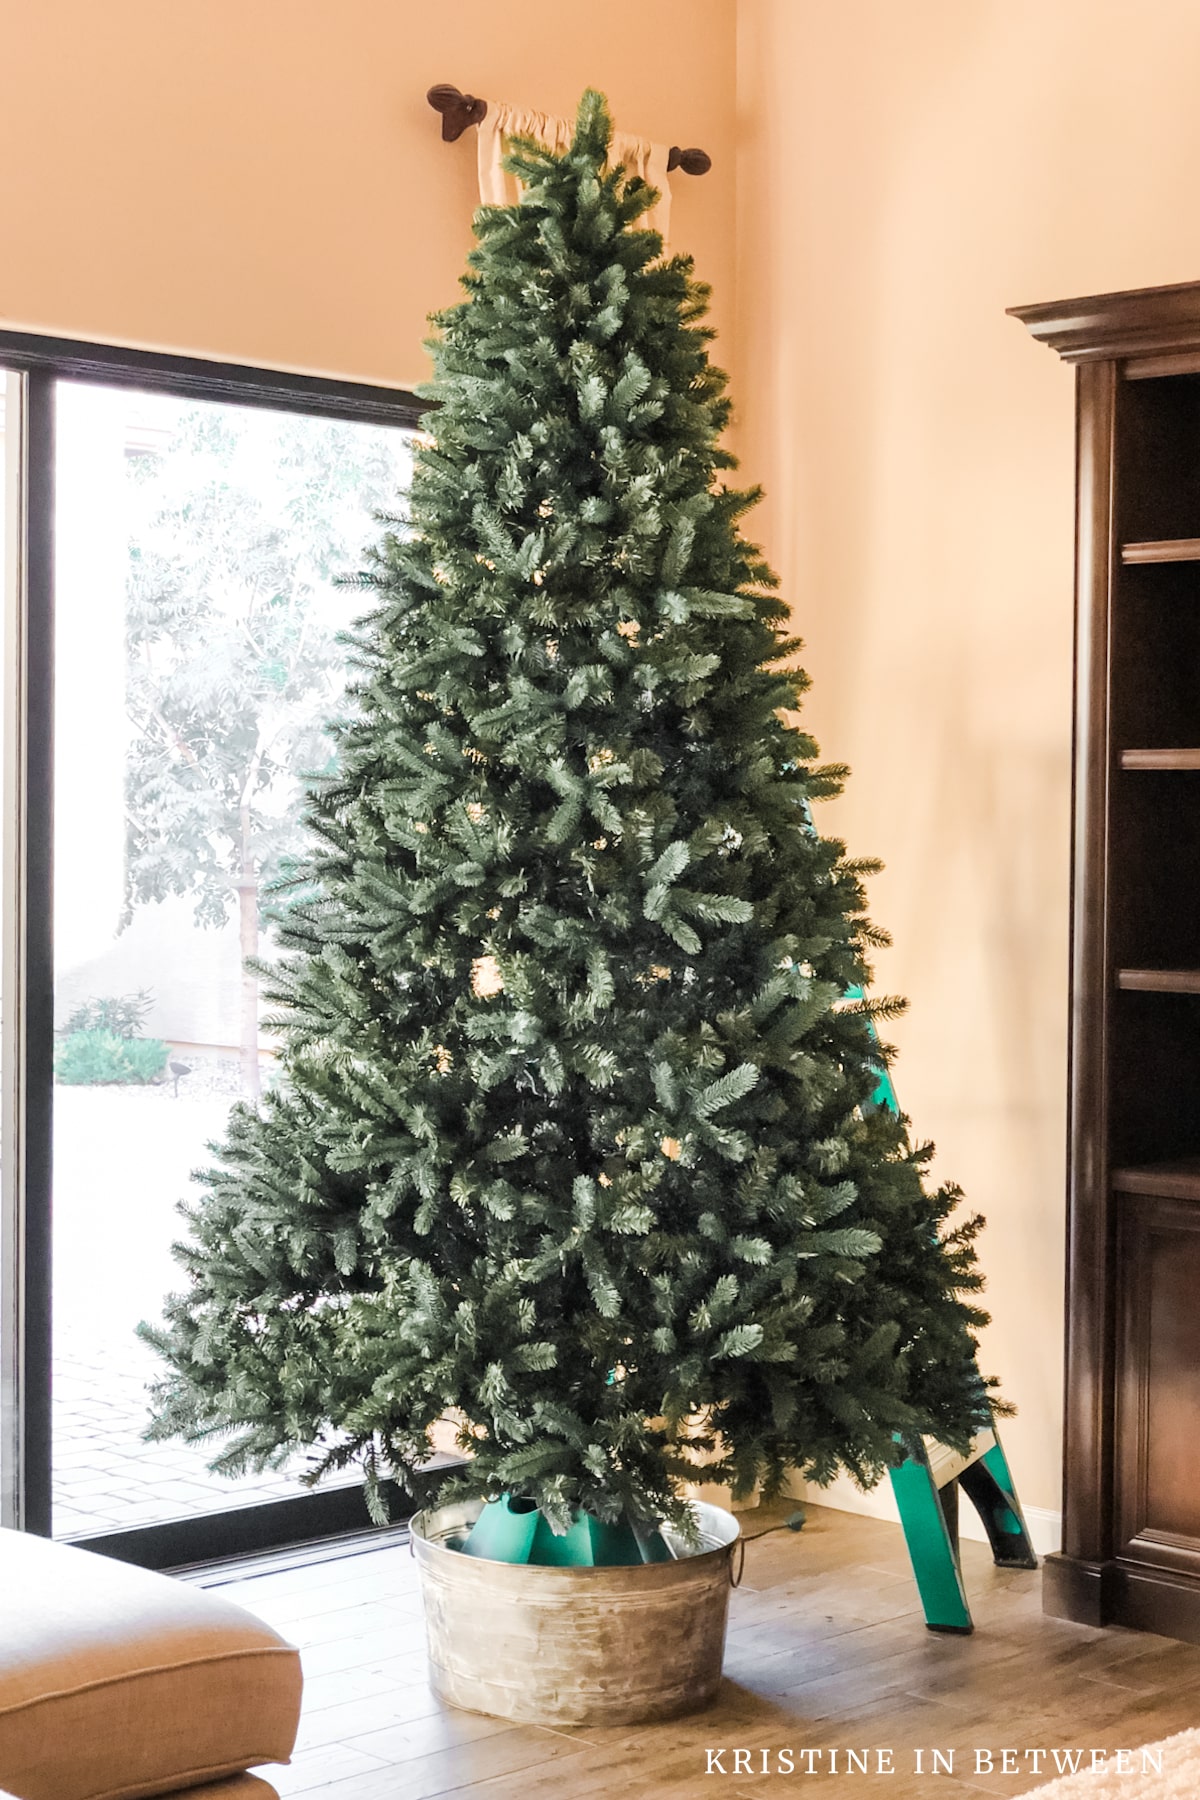
Begin fluffing the tree by working from the bottom to the top and the inside out. Start with the branches closest to the trunk. Separate each brach and fan them out evenly.
Angle the branches closest to the trunk upwards to cover up the trunk. Hold each branch and gently bend the tips upward and outward. This will give the tree a fuller appearance and create more space for ornaments.
Do you love this post?
Share it on Pinterest
Step 4: Don’t Forget the Branches’ Orientation
Pay attention to the orientation of the branches. They should alternate in a zigzag pattern, with one branch facing upwards, the next downwards, and so on. This alternating pattern helps your ornaments hang beautifully and give the tree a full and natural appearance.
Step 5: Be Patient and Methodical
Fluffing a Christmas tree takes time (a lot of time!), especially if it’s densely packed with branches. Be patient. Meticulously work you work your way up the tree. Work one row at a time and take breaks if needed to admire your progress as you go – this can be a long process (just keeping it real).
Step 6: Work Your Way to the Outer Branches
After fluffing the inner branches, move to the outer ones. These branches are the most visible, so give them extra attention. Gently fan out each and every branch, continuing in the one-up, one-down pattern and pull the end tips straight out. Ensure they are evenly spaced and as straight as you can get them.
Step 7: Add Some Character
To make your tree look even more realistic, gently twist some of the branch tips. This slight twist adds character and dimension to your tree. It’s the small details that make all the difference, trust me on this.
Step 8: Step Back and Assess
Once you’ve fluffed all the branches, step back and assess your tree from different angles. Make any final adjustments to ensure it looks balanced and full. This step is crucial for achieving that picture-perfect Christmas tree.
Places to pay special attention to-in between the rows near the trunk and the outer tips. Make sure the innermost branches are fanned out in a way the covers the trunk and doesn’t leave any holes (unless that’s the look you’re going for – think, a Charlie Brown type tree) and make sure the tips of each branch are straight or slightly bent upwards. This will give the cleanest, most natural look to the tree.
Step 9: Decorate with Love
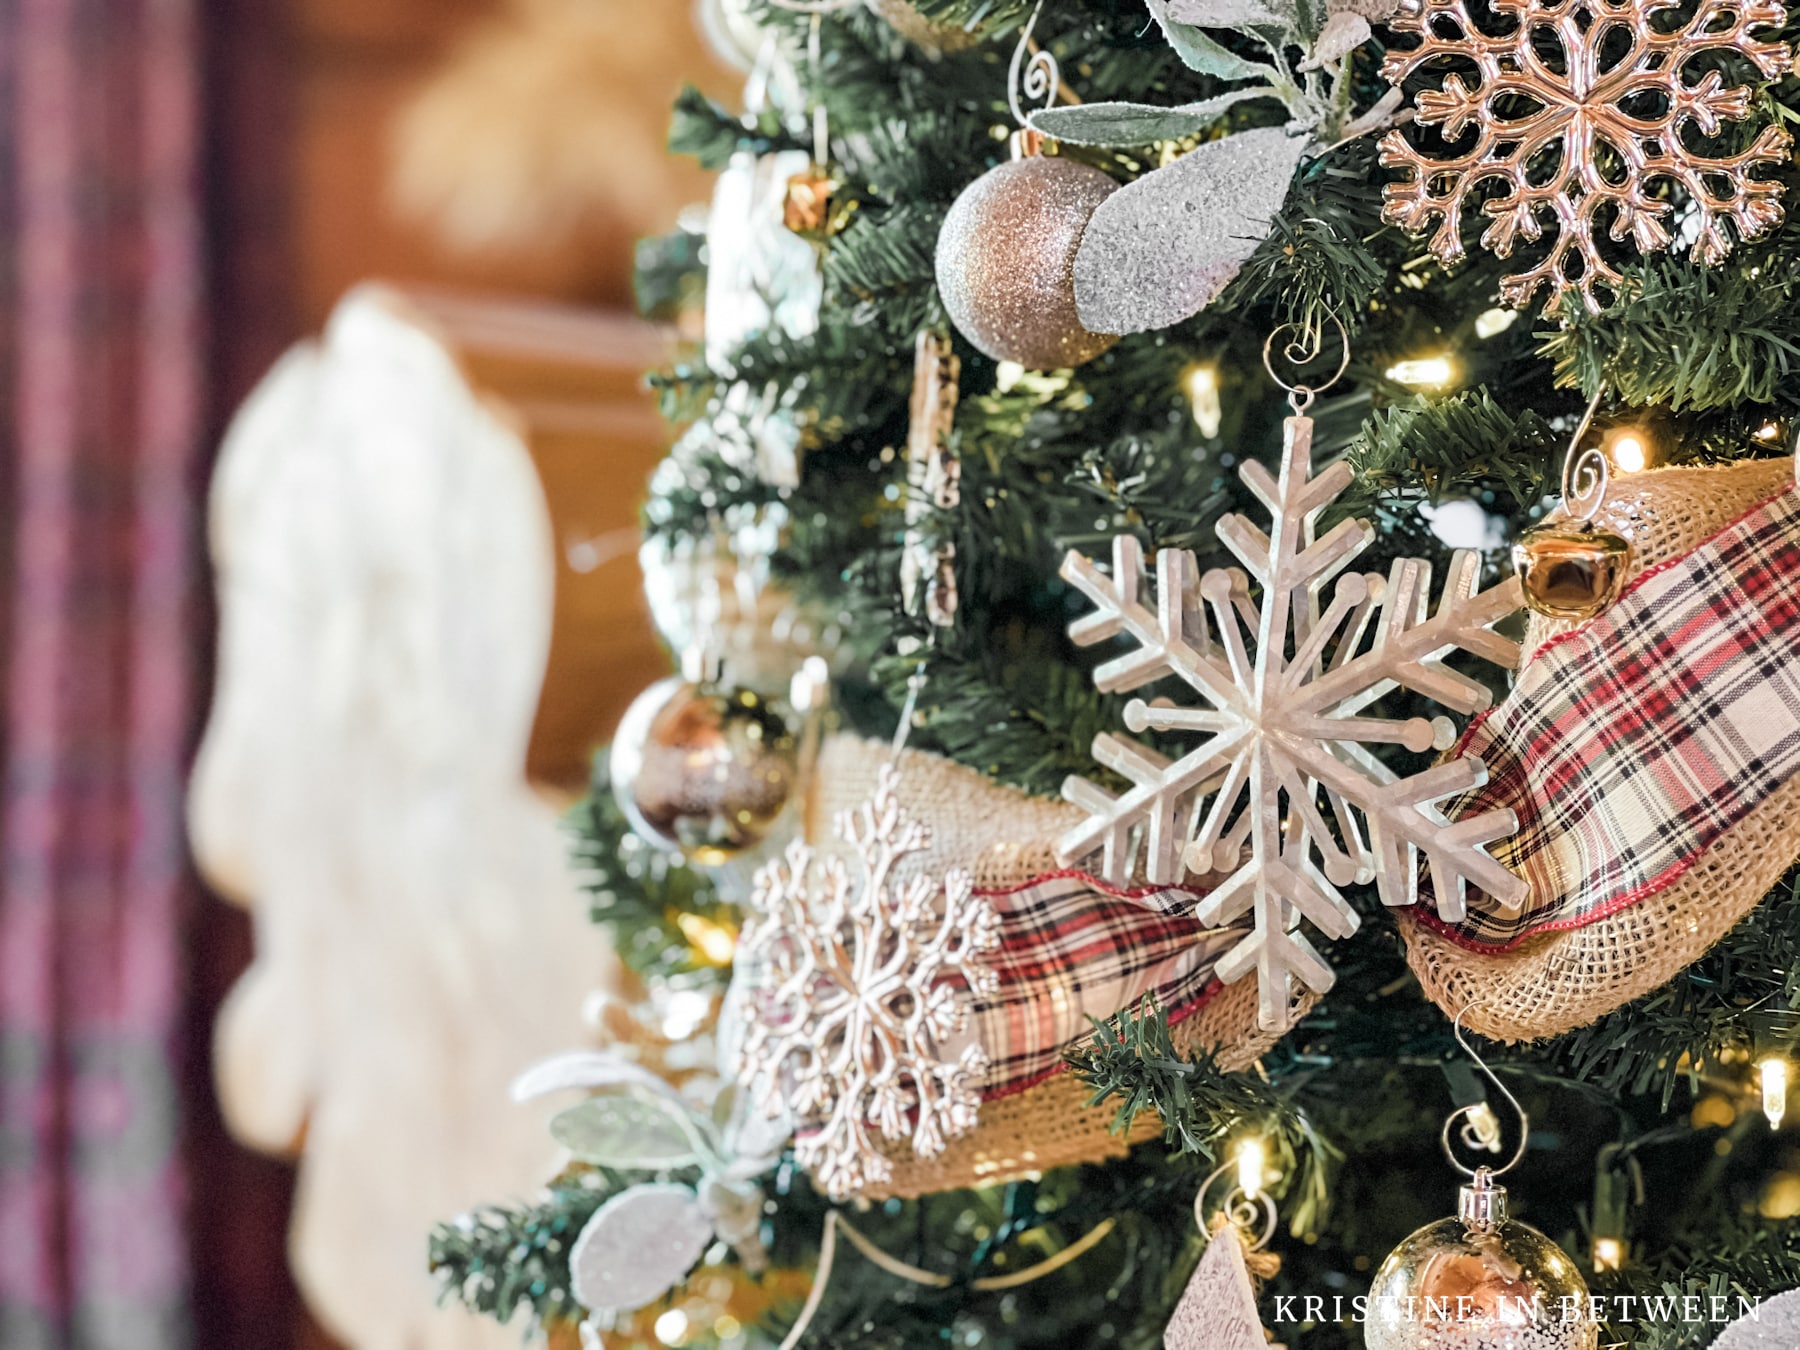
Now that your tree is beautifully fluffed, it’s time for the best part—decorating that sucker! Hang your favorite ornaments, string the lights, and place the star or angel on top. Your perfectly fluffed tree is ready to shine and spread holiday cheer.
Tip
If you want to make unpacking and fluffing your tree even easier next year, make sure you take it down and pack it up the right way. Don’t miss my (very helpful) post on how to pack up your tree and set yourself up for success next year!
Fluffing a Christmas tree may seem like a simple task, but it’s a tedious and very important step in creating a natural looking and inviting holiday atmosphere. The tree sets the stage for your decorations and adds that magical holiday touch to your home.
So, grab your gloves, put on some festive music, and get ready to transform your crumpled up, box-formed tree into a stunning centerpiece that will fill your home with joy and holiday spirit. Happy holidays, my friends and may your tree always shine bright! 🎄✨

