Traditional Irish Brown Bread
This post contains affiliate links and we make a small commission for purchases made using these links.
If you love bread, this is for you! This traditional Irish brown bread is overflowing with rustic charm. And with its hearty texture and nutty flavor, it’s a real testament to its simple and wholesome ingredients. It’s so good.
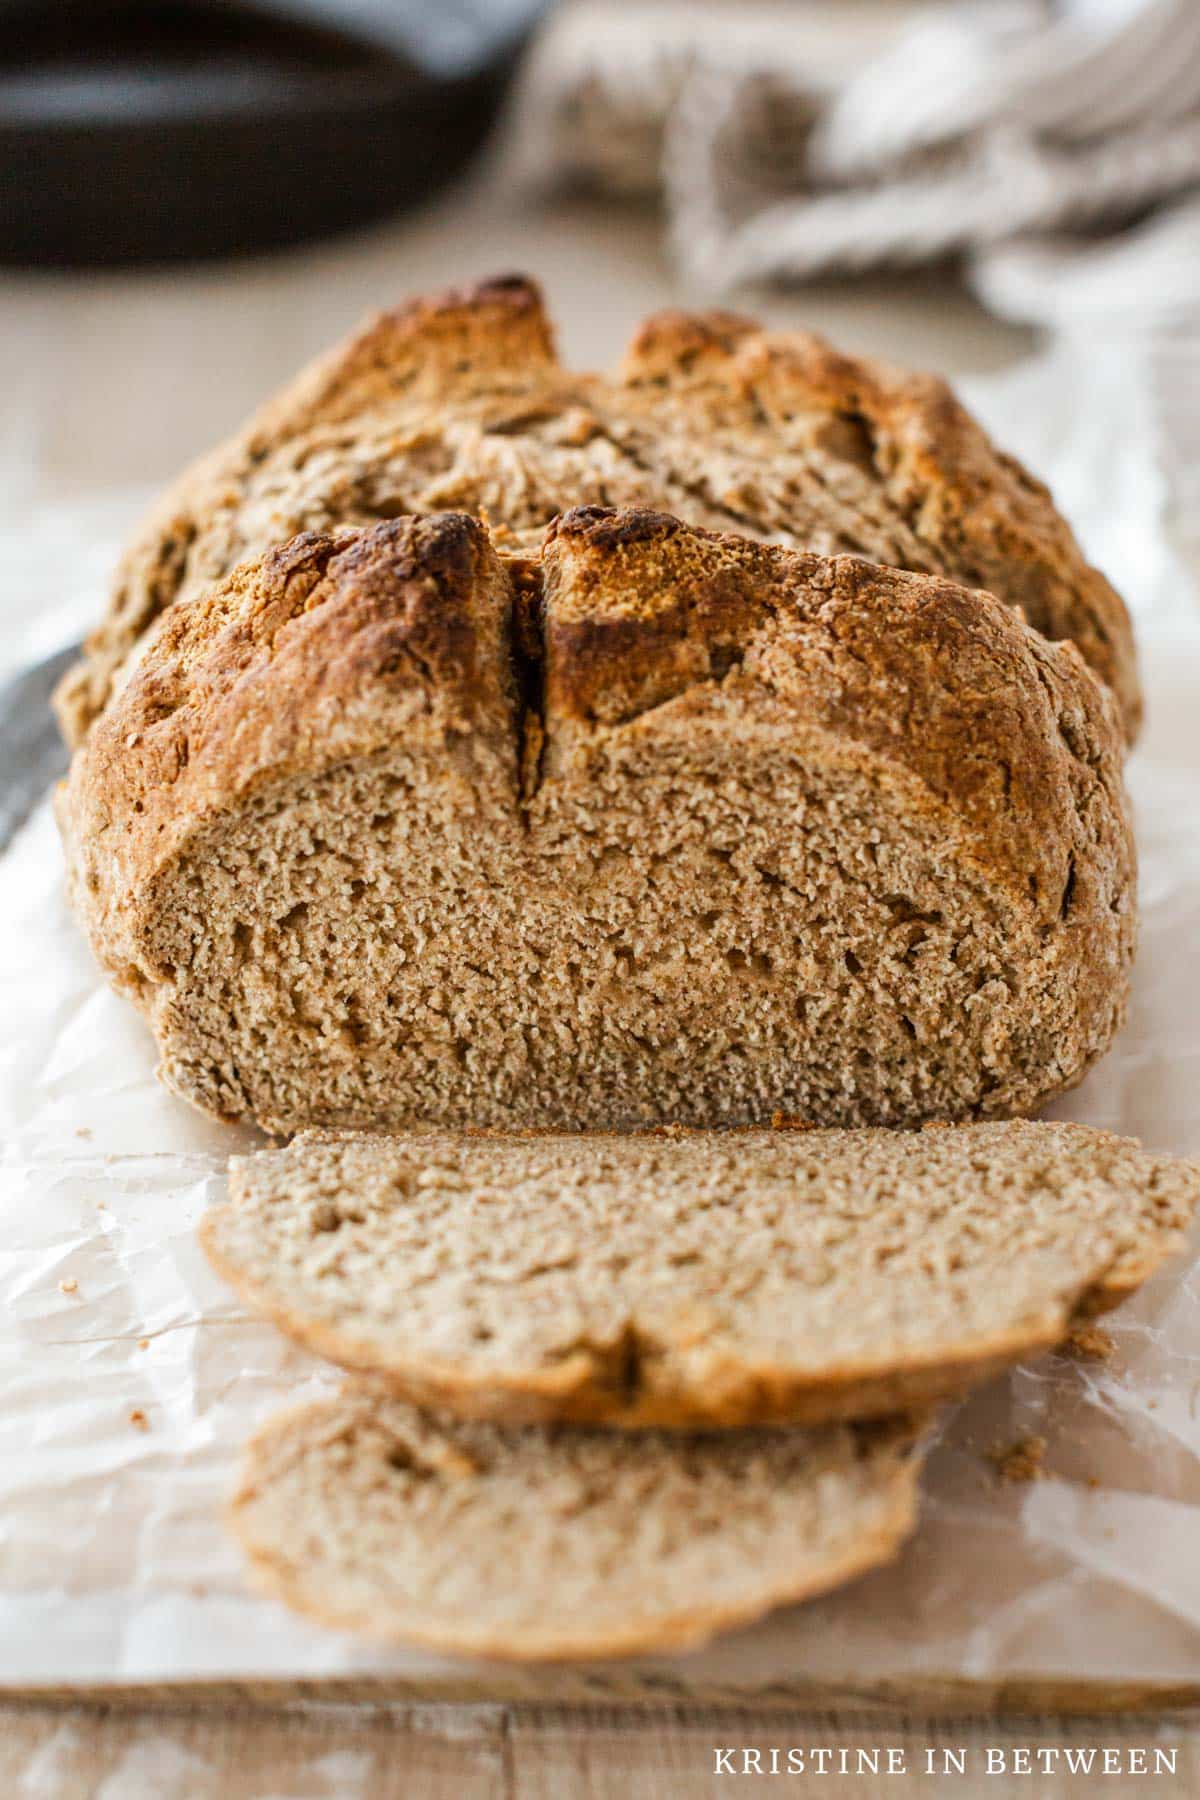
Each slice is dense and tender, and pairs perfectly with warm creamy butter. The subtle sweetness and earthy undertones make this bread the perfect side for stews and chilis.
The History Of Irish Brown Bread
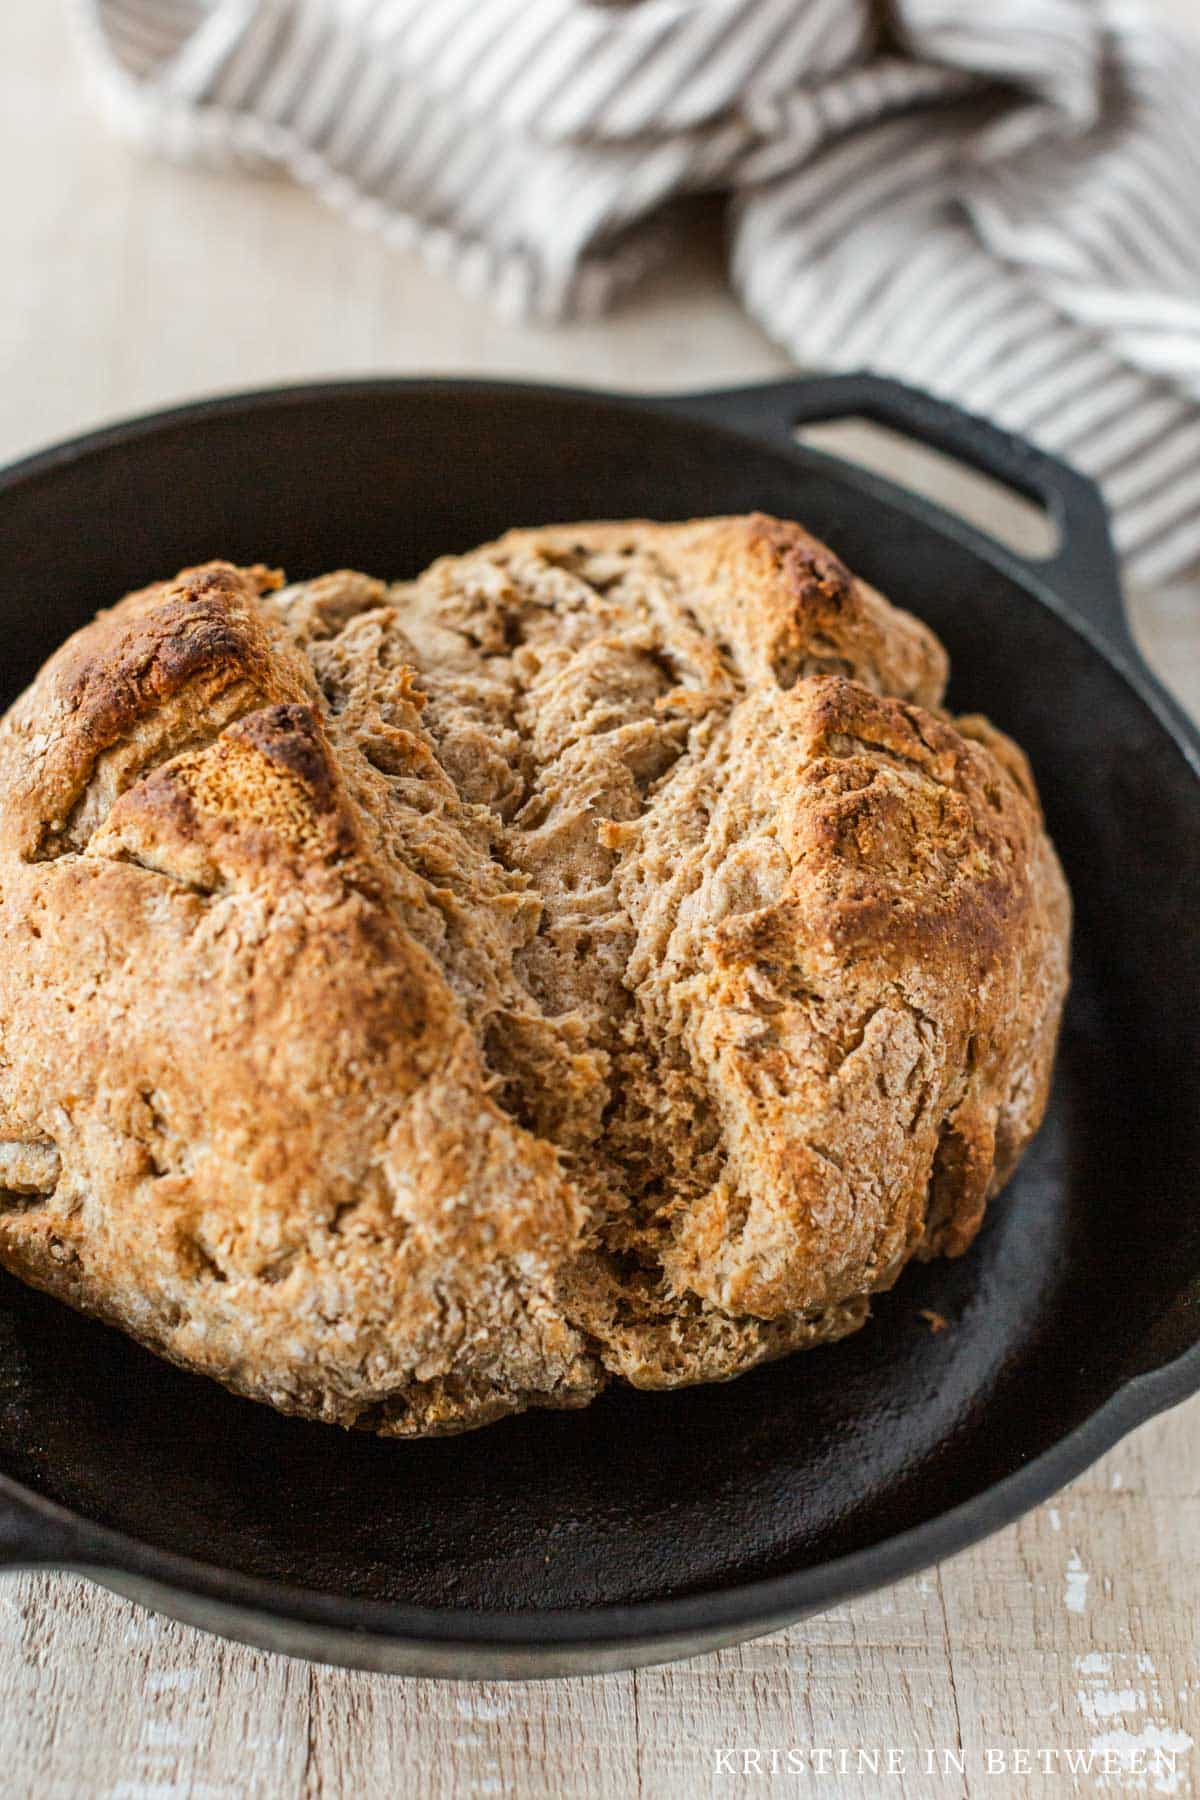
The thing that sets Irish brown bread apart is its rustic charm and wholesome ingredients. Made with a blend of all-purpose and whole wheat flours, it has a rich, nutty flavor and a dense, but tender crumb. The addition of buttermilk adds a subtle tanginess and lots of moisture to the bread, while a touch of sugar balances out the earthy notes of the whole wheat flour.
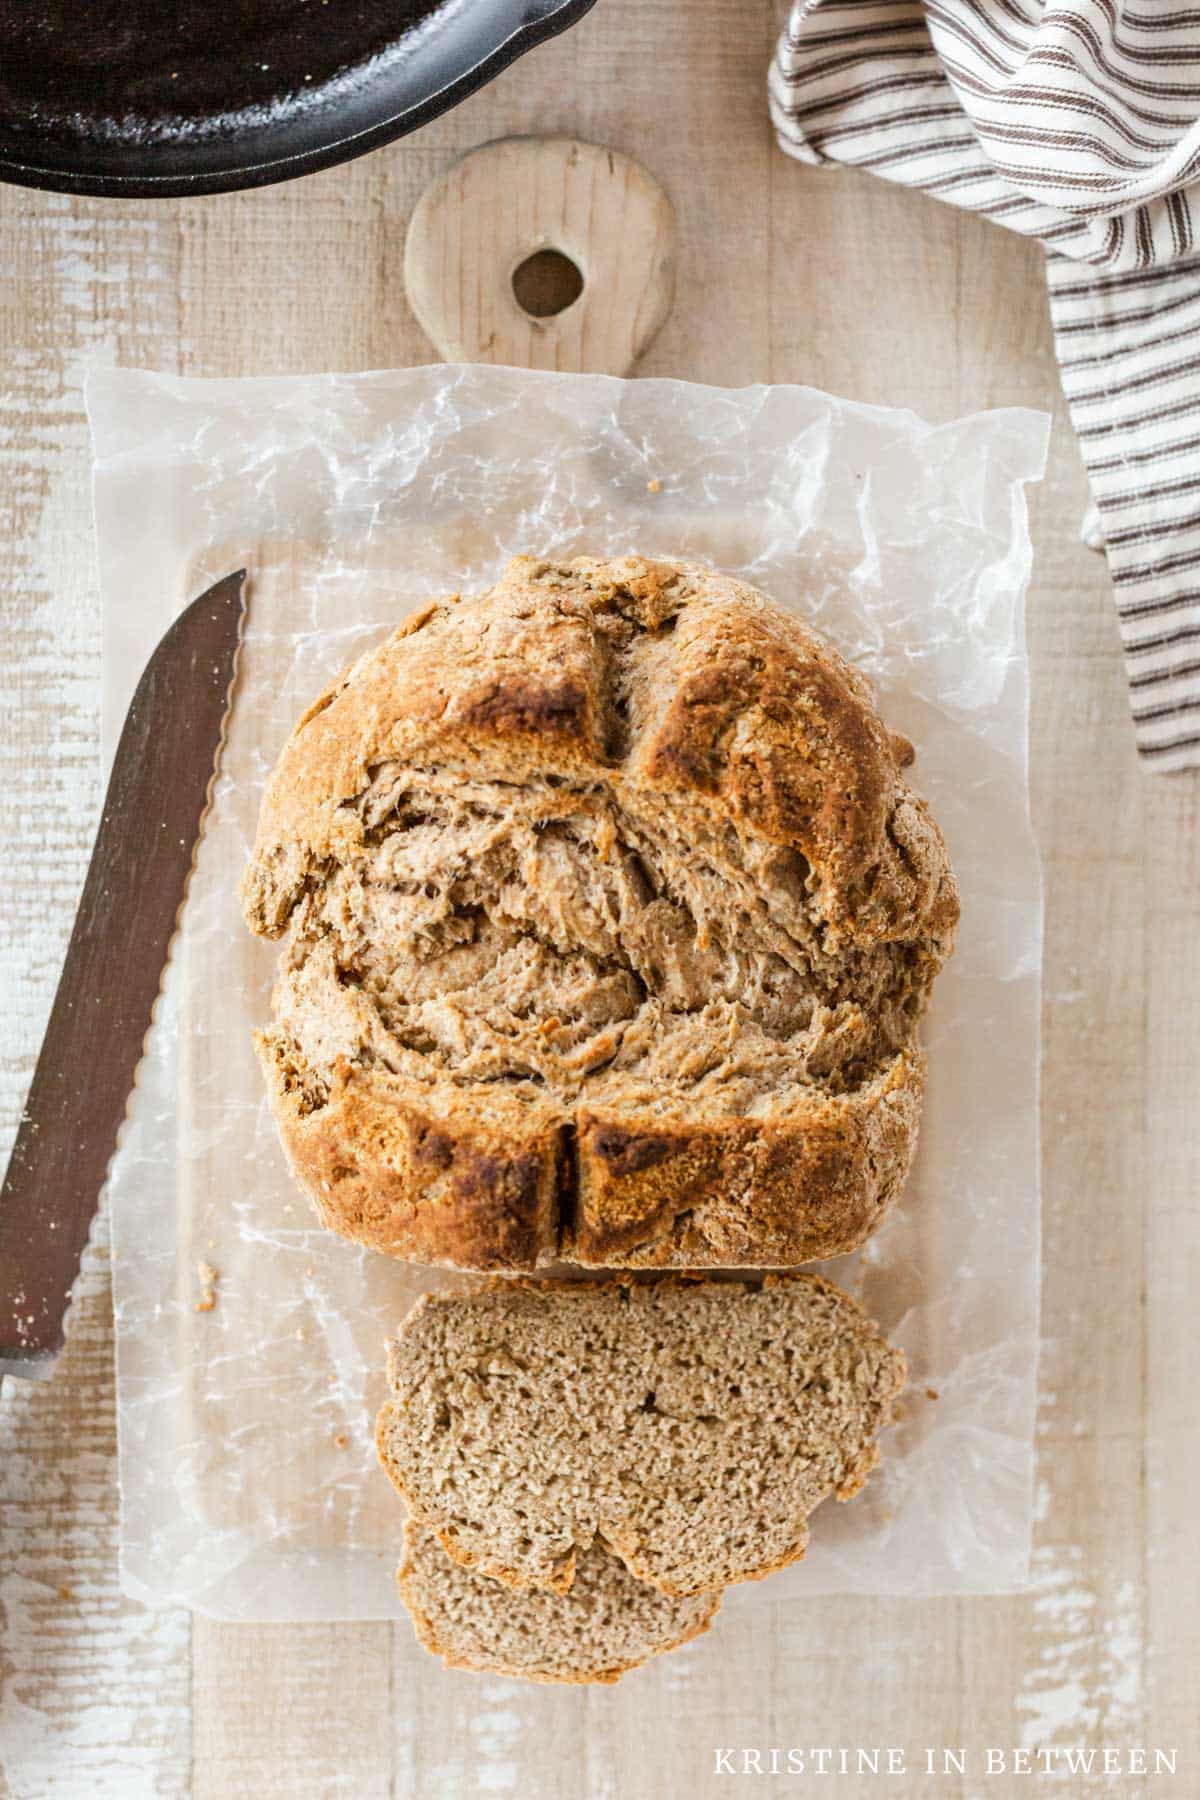
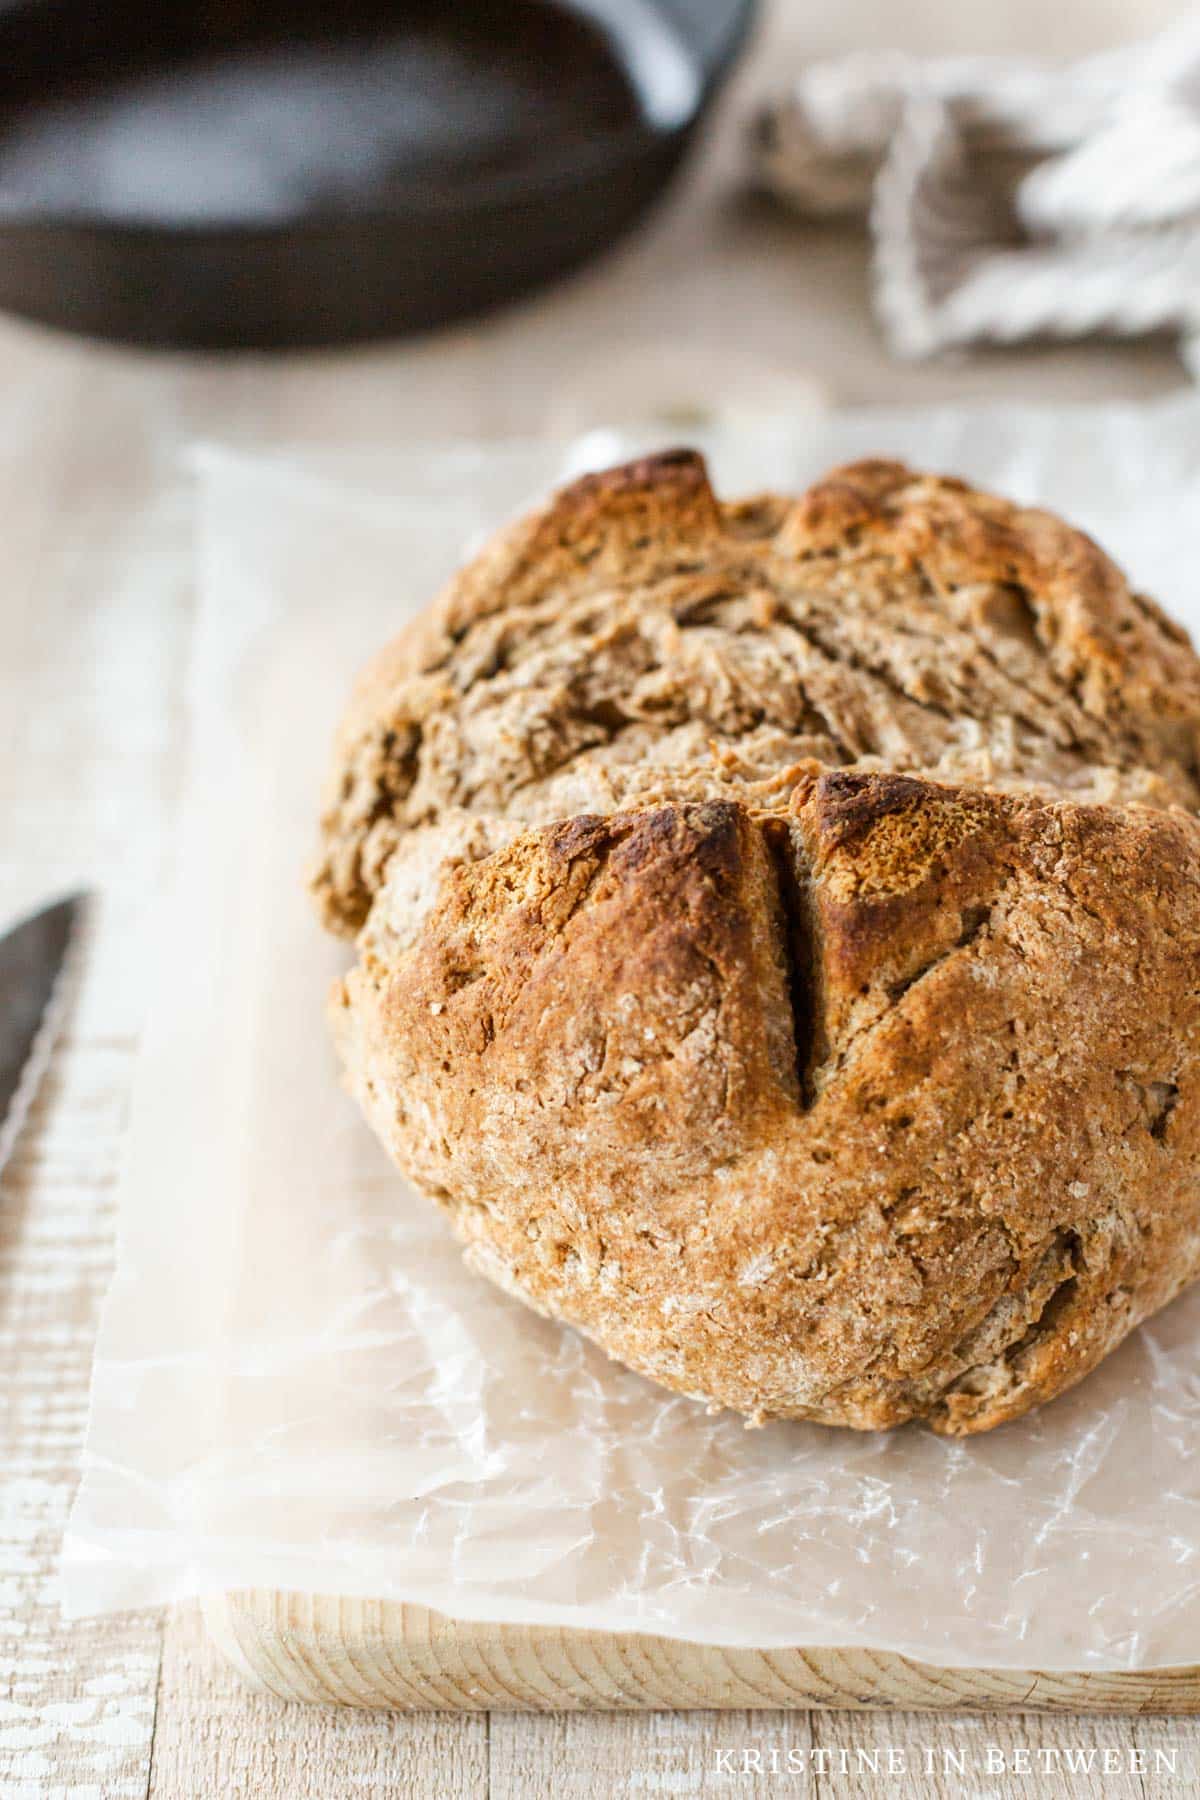
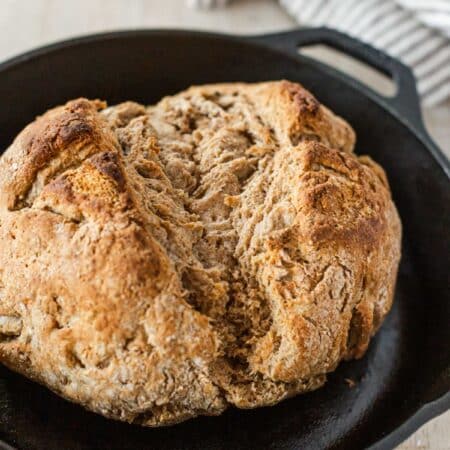
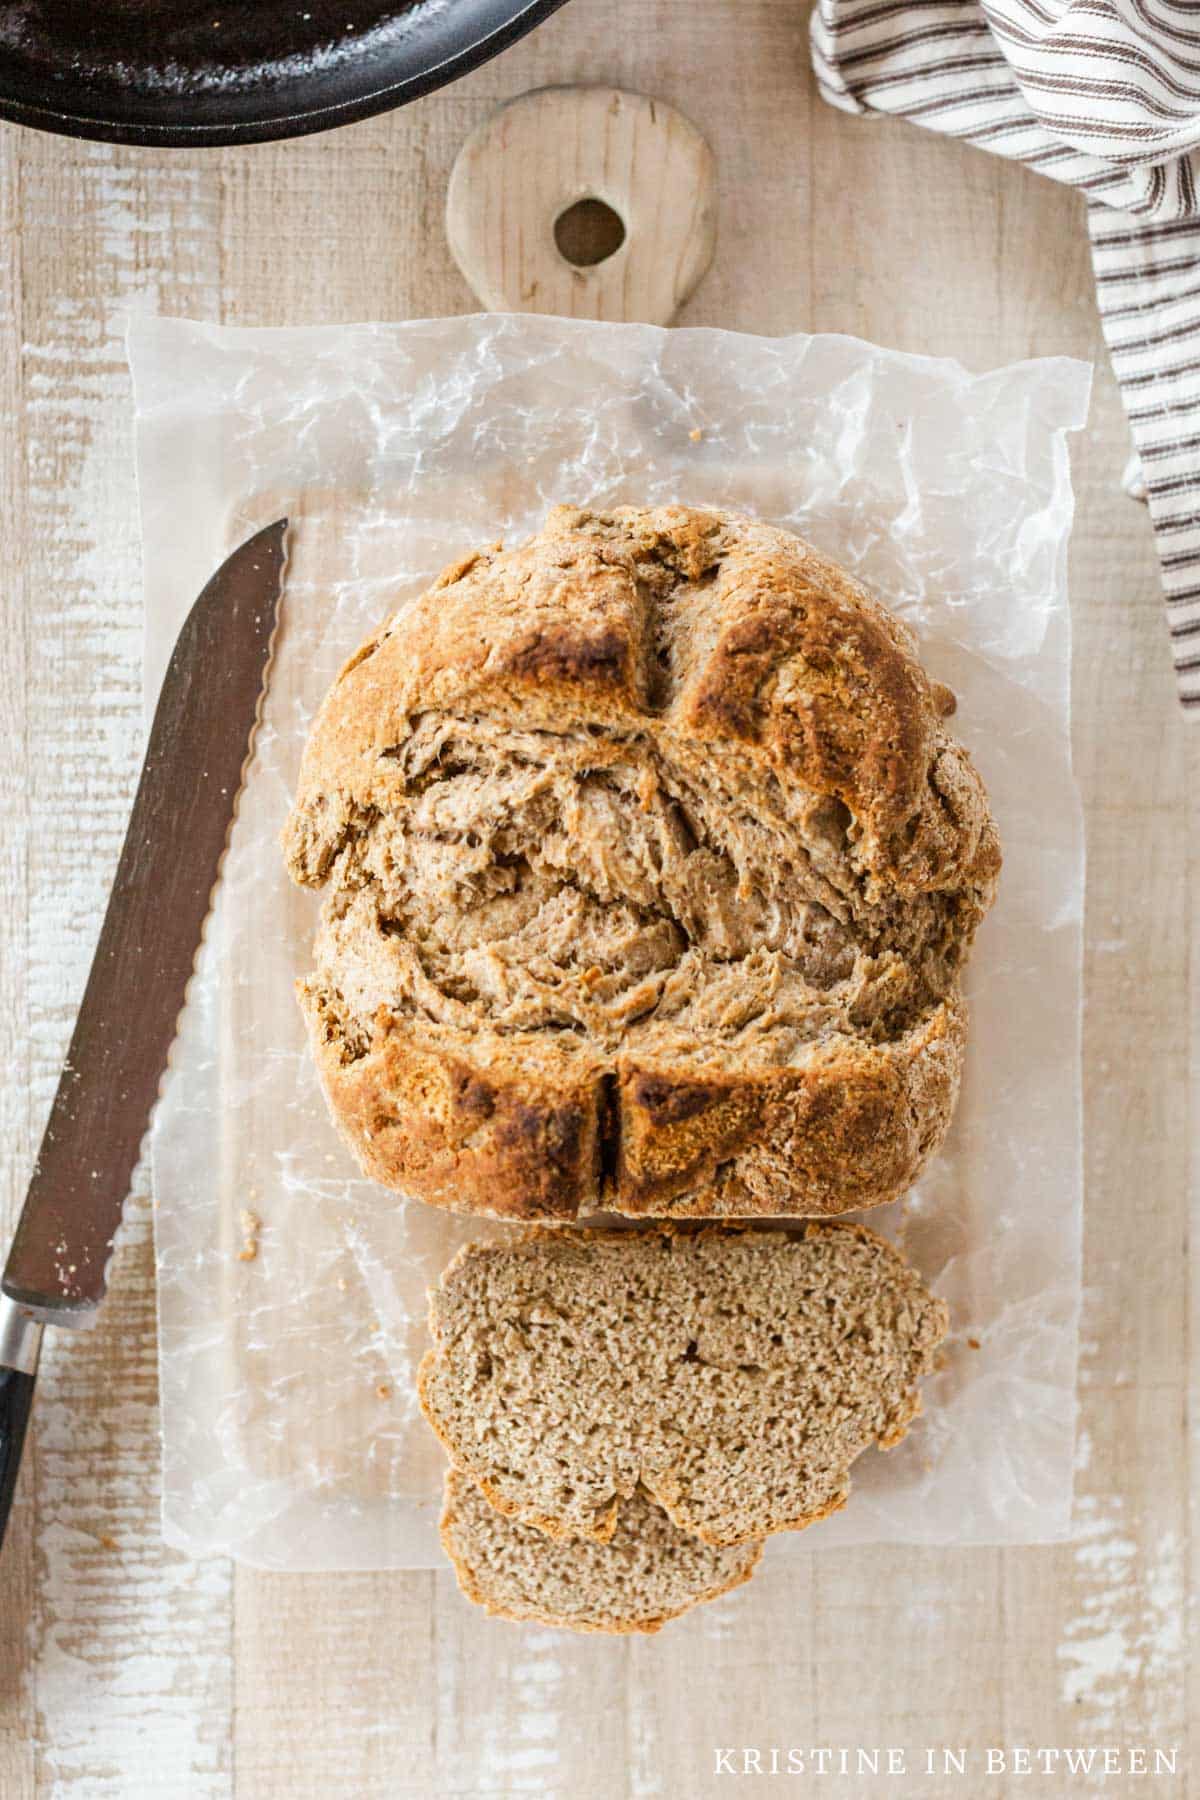
But perhaps the most iconic feature of Irish brown bread is its distinctive (and if I may, gorgeous) crust. This bread has a rugged and crusty outside and is soft and tender on the inside.
This type of crust is achieved through high-heat baking in a cast iron skillet or on a hot baking sheet and adds a huge contrast of textures while sealing in the bread’s natural flavors. And, if I haven’t mentioned it – it’s simple to make.
The Traditional Brown Bread Recipe
Ingredients:
- 2 cups all-purpose flour
- 2 cups whole wheat flour
- 2 tablespoons sugar
- 1 teaspoon baking soda
- 1 teaspoon salt
- 3 tablespoons cold butter
- 1 egg
- 1 2/3 cups buttermilk
Do you love this post?
Share it on Pinterest
Instructions:
- Preheat: Begin by preheating your oven to 425 degrees Fahrenheit. Lightly grease a 10″ cast iron skillet with cooking spray or line a baking sheet with parchment paper.
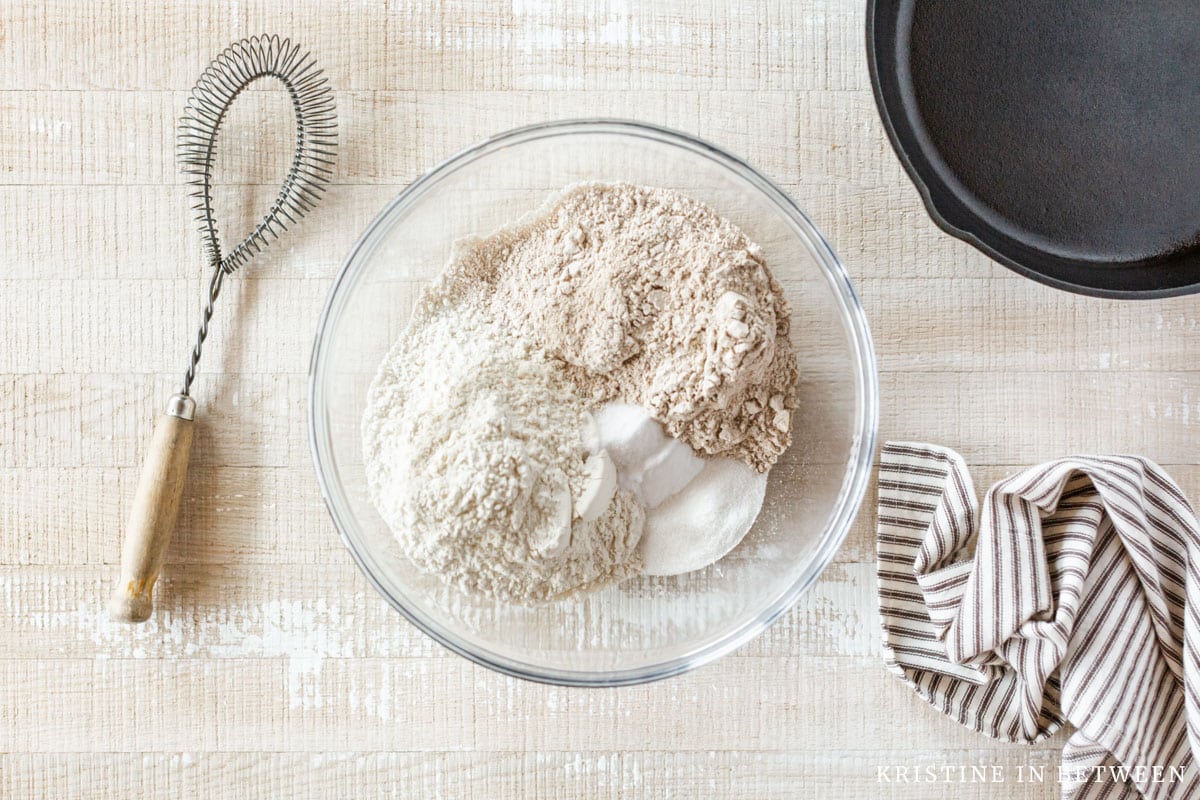
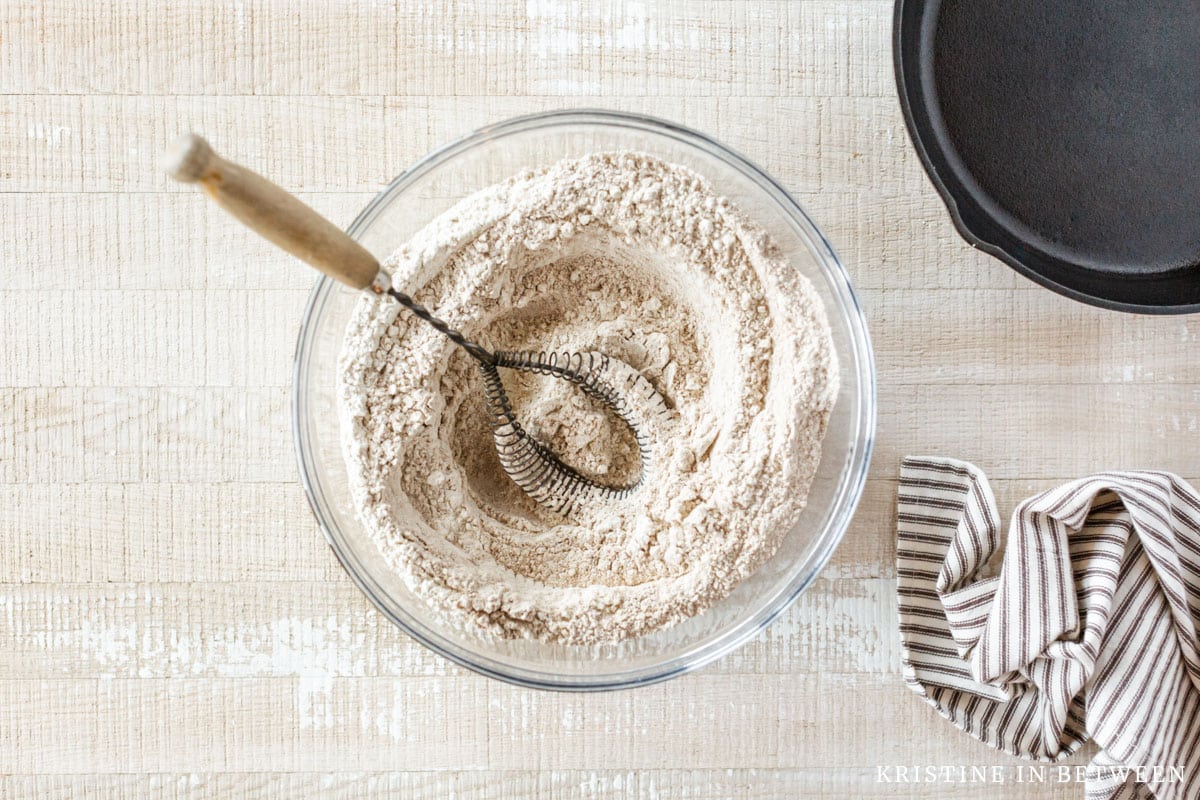
- Mix Dry Ingredients: In a large bowl, whisk together the all-purpose flour, whole wheat flour, sugar, baking soda, and salt until well combined.
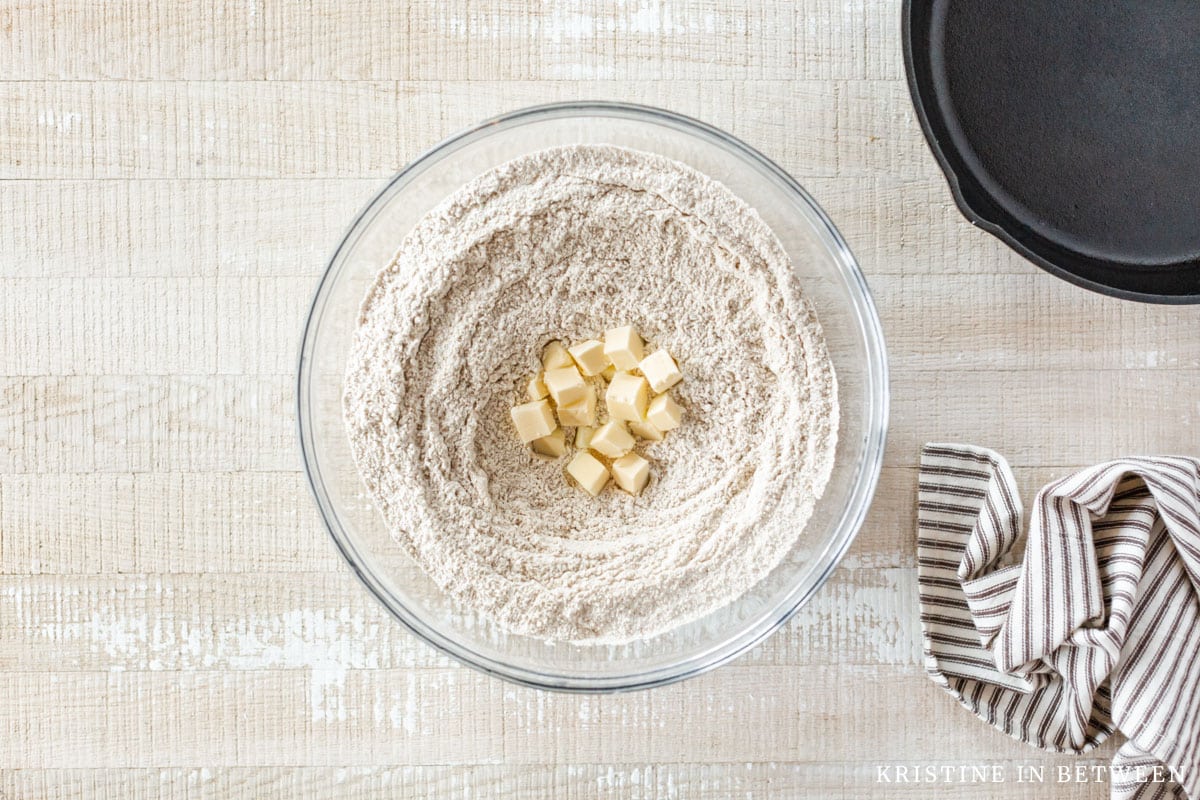
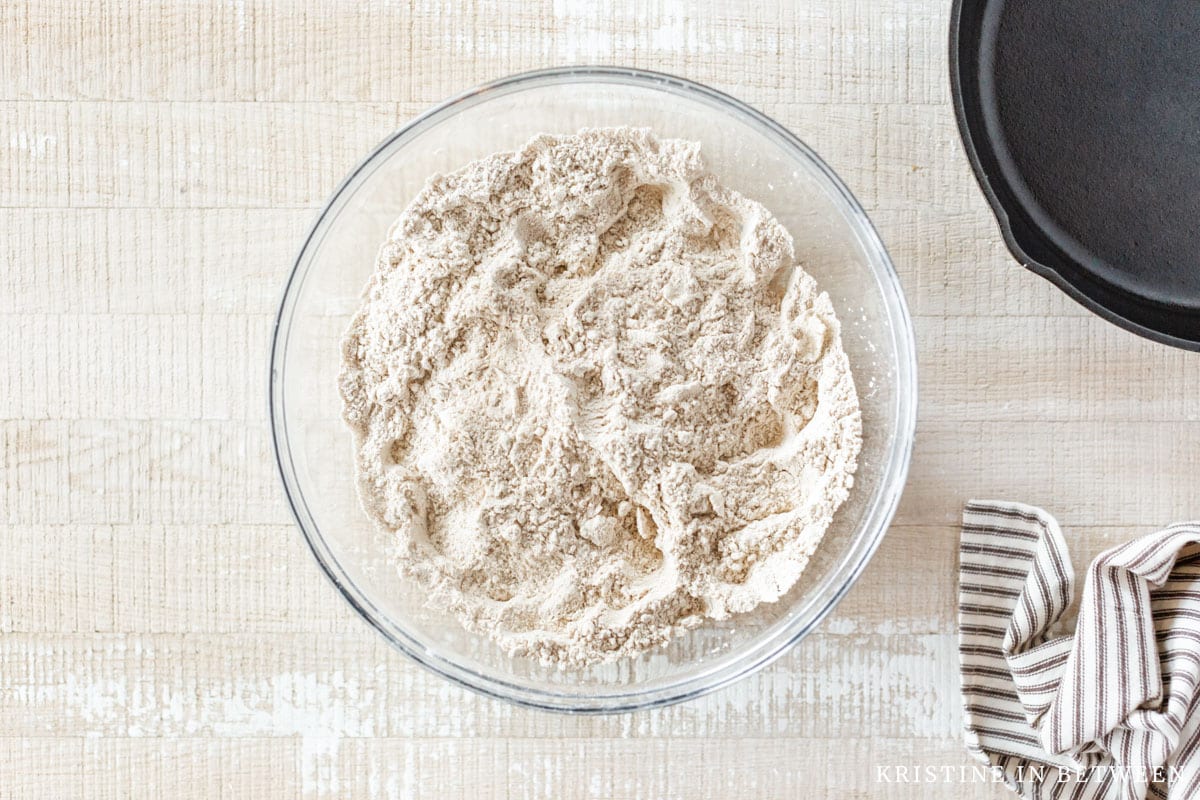
- Incorporate Butter: Add the cold butter to the dry ingredients. Using your hands, mix until pea-sized pieces of butter form and are evenly distributed throughout the flour mixture.
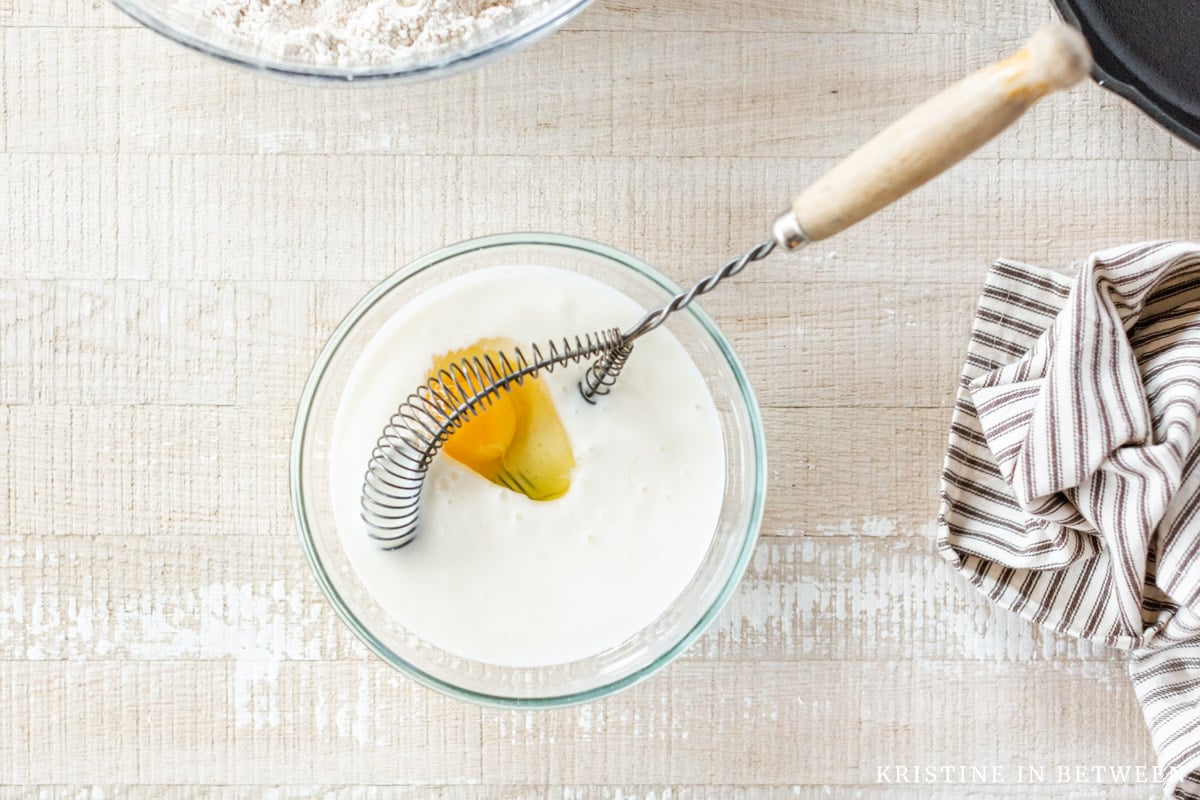
- Combine Wet Ingredients: In a separate smaller bowl, whisk together the egg and buttermilk until smooth.
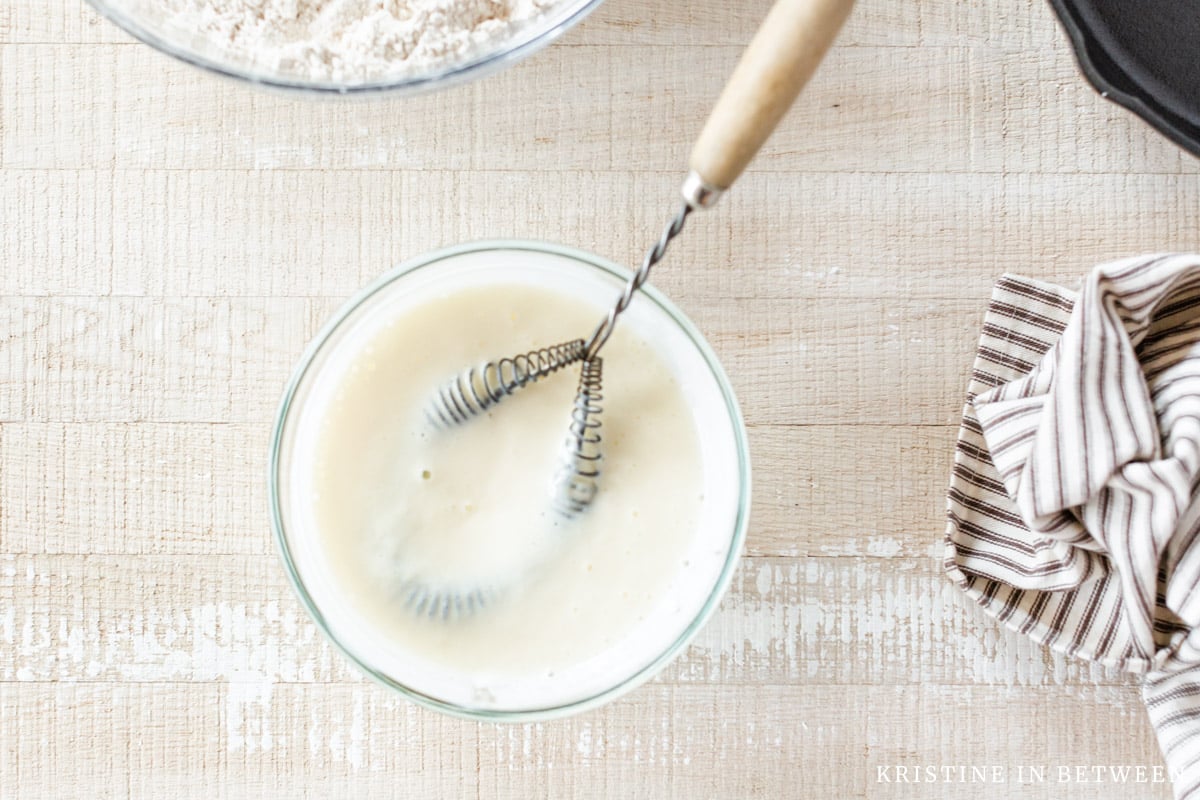
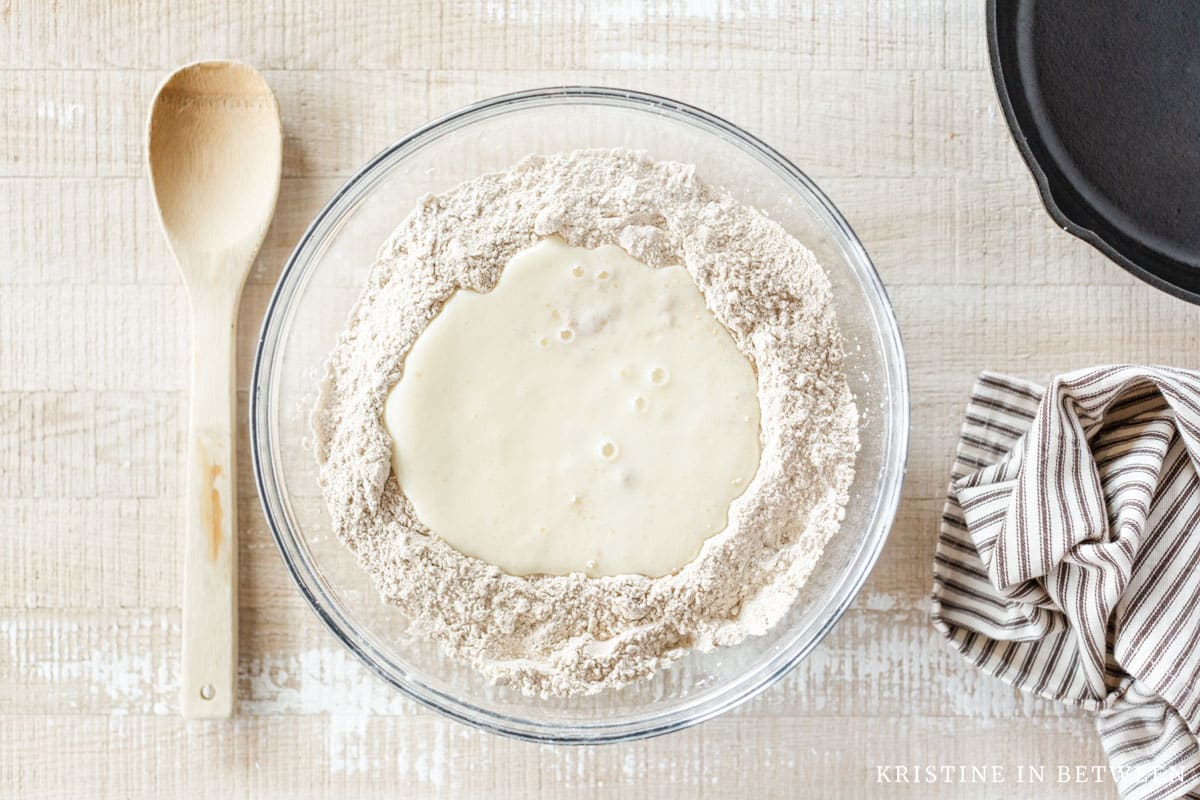
- Form Dough: Make a well in the center of the flour mixture and pour the egg and buttermilk mixture into the well. Mix with a wooden spoon or rubber spatula until the dough becomes too stiff to stir.
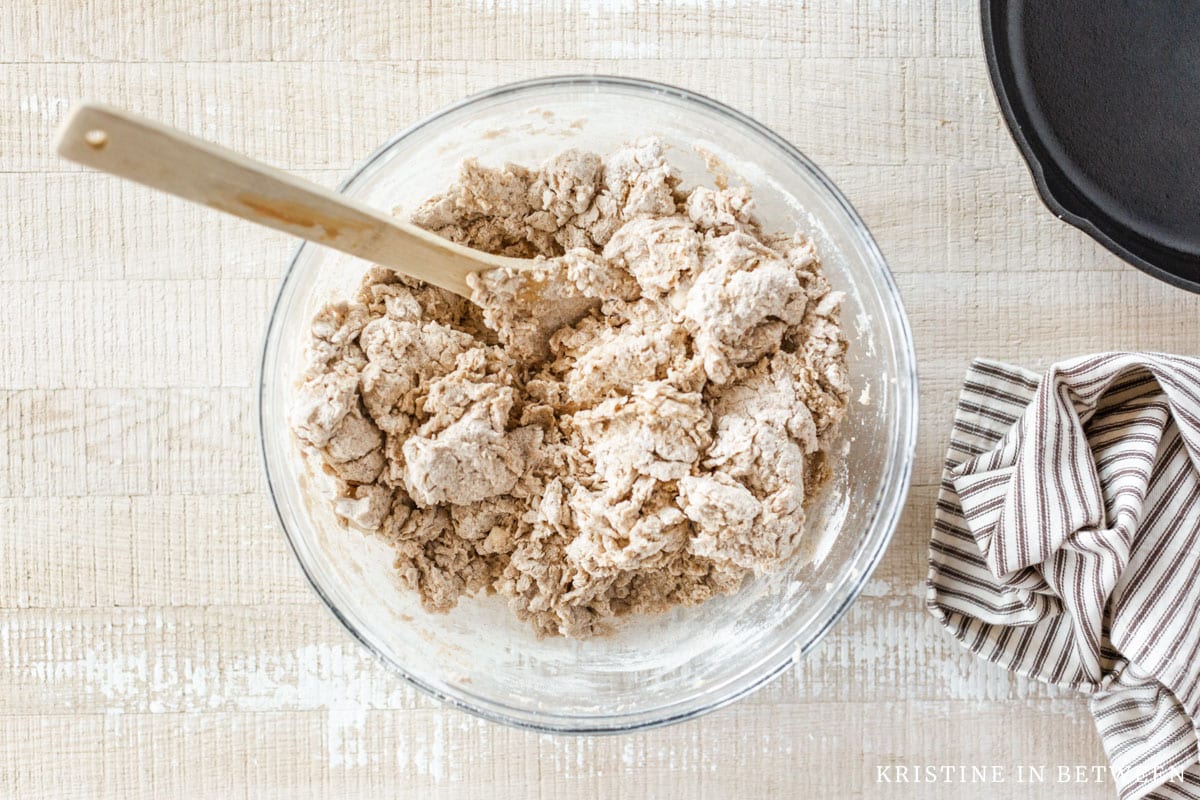
- Knead Dough: Turn the dough out onto a lightly floured surface and knead it for about 30 seconds, or until no streaks of flour remain. Be careful not to overwork the dough, as this can result in a tough texture.
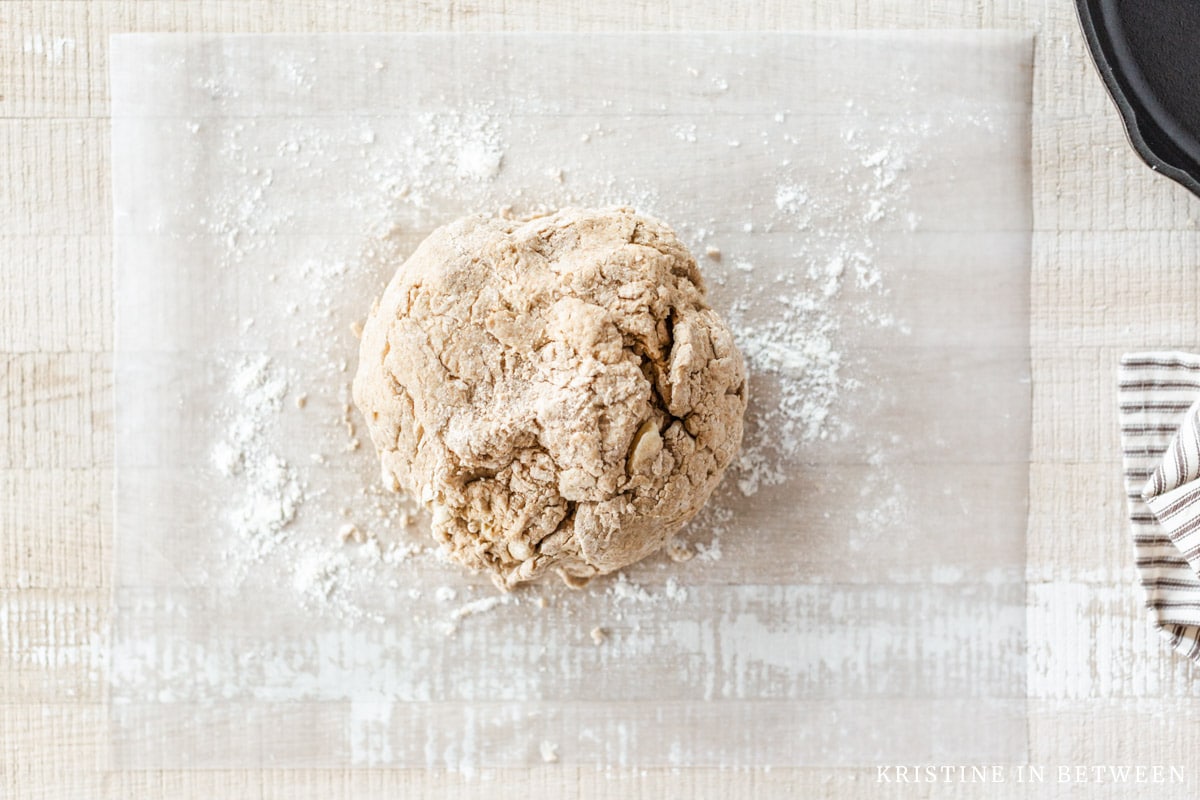
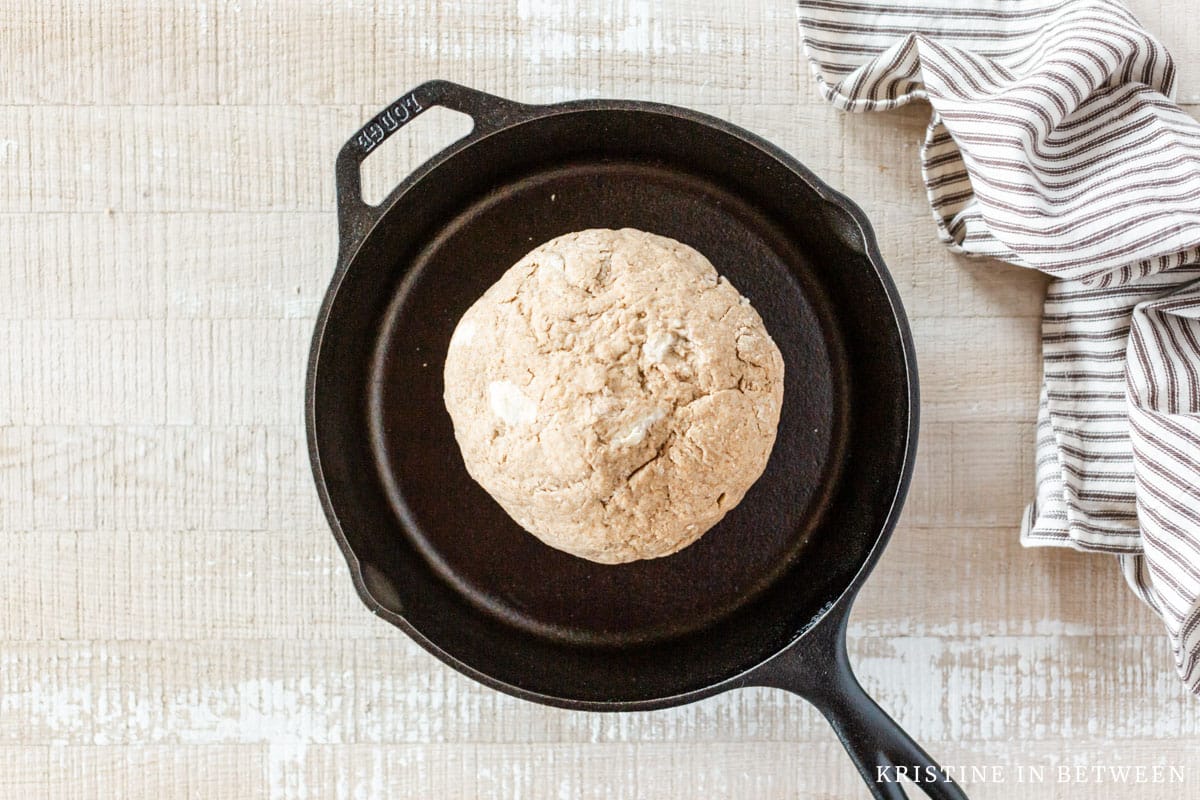
- Shape and Score: Shape the dough into a ball and transfer it to the prepared skillet or baking sheet. Using a sharp knife, score an “X” on the top of the loaf, about 1/2 inch deep. This helps the bread expand while baking.
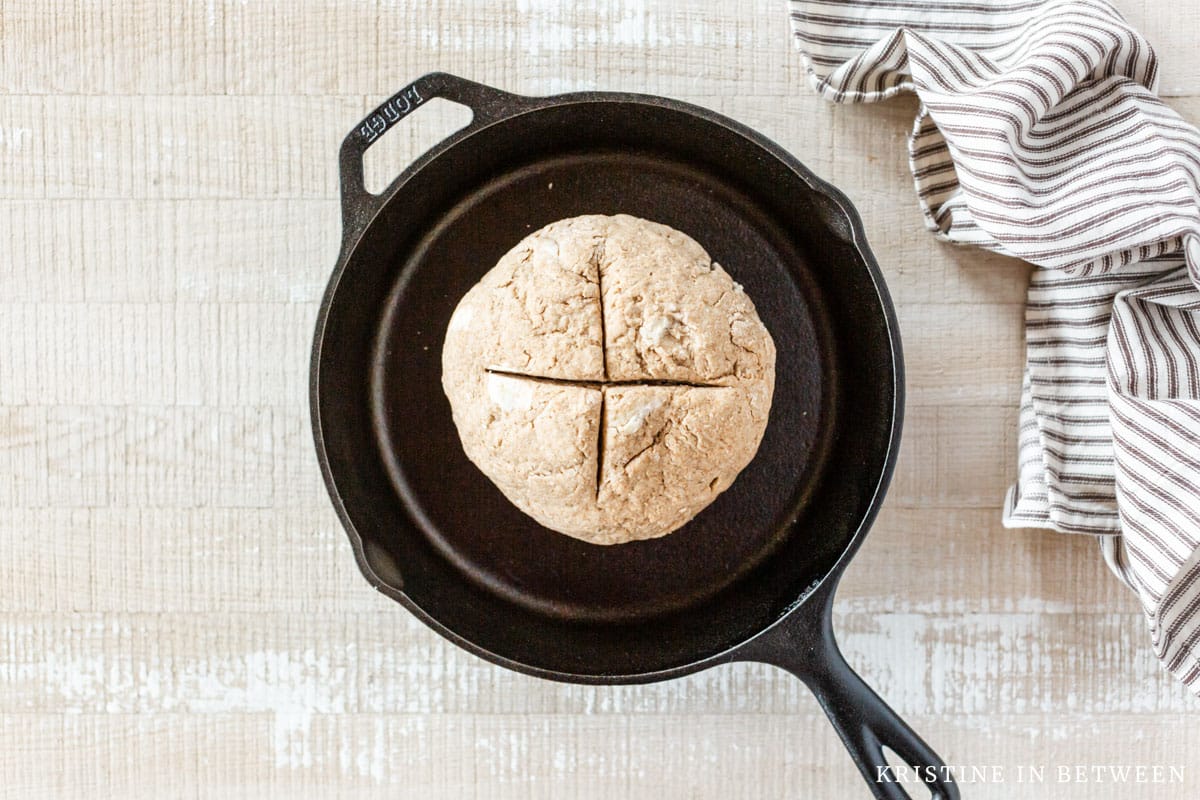
- Bake: Place the bread in the preheated oven and bake at 425 degrees Fahrenheit for 15 minutes. Then, reduce the heat to 400 degrees Fahrenheit and continue baking for an additional 30-35 minutes, or until the bread is golden brown and sounds hollow when tapped on the bottom.
- Cool and Enjoy: Allow the bread to cool for several minutes in the pan before transferring it to a wire rack to cool completely. Serve the bread warm or toasted, slathered with butter.
Tips for Success
- Use Cold Ingredients: Keep your butter and buttermilk cold until ready to use. Cold ingredients help create a flakier texture in the final loaf.
- Don’t Overwork the Dough: Once you’ve combined the wet and dry ingredients, knead the dough only until it comes together. Overworking the dough can result in a dense and tough loaf.
- Score the Bread: Don’t forget to score an “X” on the top of the loaf before baking. This not only adds a traditional touch but also allows steam to escape, preventing the bread from splitting.
- Check for Doneness: To ensure that your bread is fully baked, insert a toothpick into the center. It should come out clean, without any doughy residue.
Questions About This Recipe
Traditional Irish brown bread is more than just a humble little loaf of bread—it’s a symbol of resilience, heritage, and Irish spirit. By making a loaf of this hearty bread in your own kitchen, you’re not only making a tasty side for your stew, but also paying homage to centuries of Irish tradition, and that’s pretty cool.
So, sláinte, my friends! (Cheers in Irish culture)
Pair This Bread With One Of These Meals
Traditional Irish Brown Bread
Equipment
ingredients
- 2 cups flour (all purpose)
- 2 cups whole wheat flour
- 2 TBS sugar
- 1 tsp baking soda
- 1 tsp sea salt
- 3 TBS butter (cold)
- 1 egg
- 1 2/3 cup buttermilk
INSTRUCTIONS
- Preheat oven to 425 degrees Fahrenheit and lightly grease a 10" cast iron skillet with cooking spray (or line a baking sheet with parchment paper).
- In a large bowl, whisk the flour, whole wheat flour, sugar, baking soda, and salt together until well mixed.2 cups flour, 2 cups whole wheat flour, 2 TBS sugar, 1 tsp baking soda, 1 tsp sea salt
- Add butter and using your hands, mix until pea-sized pieces form.3 TBS butter
- In a smaller bowl, whisk the egg and buttermilk together until smooth.1 2/3 cup buttermilk, 1 egg
- Make a well in the center of the flour and pour egg mixture into the center. Mix with a wooden spoon (or rubber spatula) until the dough is too stiff to stir.
- Turn dough out onto a lightly floured surface and form into a ball. Knead dough until no streaks of flour are seen (about 30 seconds). Do not overwork the tough or the bread will be tough.
- Transfer the dough ball to the prepared skilled (or baking sheet) and using a sharp knife score an "X" on the top of the loaf, about 1/2 inch deep.
- Bake bread for 15 minutes at 425 degrees, then reduce heat to 400 degrees and continue baking for 30-35 minutes, until the bread is golden brown.
- Let bread cool for several minutes in the pan prior to transferring to a wire rack to cool completely. Serve warm or toasted with butter.
Nutrition
Tagged:
- Breads & Muffins
- /
- Fall
- /
- Oven
- /
- Saint Patrick's Day
- /
- Skillet
- /
- Spring
- /
- Winter



I don’t make bread usually, but with the cold weather I really wanted to try. Since this one is absolutely gorgeous – I gave it a go. I can’t believe how great it came out! It’s the perfect rustic bread for all the cold weather food. So, so good. Don’t be scared to try baking bread, this one is failproof. Thanks for the recipe!
Hi Cheryl! Oh my gosh, this makes me so happy. I’m so glad you found the bread easy to make (and also delicious) – it’s such a great recipe to start with. Happy baking, and eating! 🙂
This easy rustic bread was so delicious and love how simple it was to make! It’s hard to beat homemade bread so I’ll be making this soon again!
Thank you so much Kathryn! So glad you enjoyed it, and you’re absolutely right – you can’t beat homemade bread!
Thank you for this recipe – it was delicious!
Hi Sonia! You’re so welcome, glad you enjoyed the bread!
I love brown breads so much, but I never attempted making it myself UNTIL NOW! Finally, a recipe I can manage. This was messy, but so easy to make. I’ll definitely be making this one on repeat!
Aw Tayler, THANK YOU! Honestly, you just made my day. I’m really glad to hear it. Happy baking!
This turned out beautifully! I almost didn’t want to cut into it, but of course I gave in to that amazing smell. Haha. Thanks so much for the wonderful recipe 🙂
Hahaha Dana, I know – it’s a pretty one! You are so welcome, I’m thrilled you loved the bread too! Happy baking!
OMG! That is the easiest recipe and method for bread. And it’s delicious! Thank you SO much for sharing this! 🙂
Thank you so much, Charah! Isn’t it though? I mean since it’s so simple, we could make this every single week if we wanted to LOL!