Super Helpful Felt Letter Board Tips
This post contains affiliate links and we make a small commission for purchases made using these links.
Did you just buy a letter board, or do you have one that you’ve completely given up on? If you answered yes to either question, you’ll want to keep reading because you’ll find these felt letter board tips super helpful! And before you know it, you’ll be changing your letter board every day!
If you follow me on Instagram, you’ve probably seen at least one of my stories about my letter board. It is my favorite thing ever! In fact, I crack up just thinking about what I’m going to put on in next!

download our free
Meal Planner & Grocery List
dinner made easy
But why…
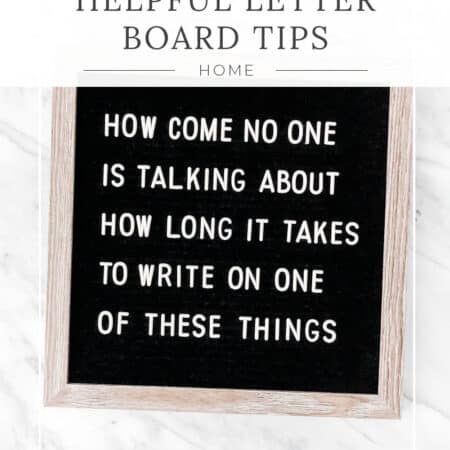
I didn’t always have such a loving relationship with my felt letter board. Actually, I was shocked at how much work it was from the very moment I opened the box and saw all the letters…attached to the plastic. Oh boy.
Time and patience-saving tips
- First things first, let me be the one to warn you-you will have to do some work to get the letters ready to use. I’m saying this because NO ONE TOLD ME, haha, and it took me a couple of hours at least, to get them all cut off the plastic bracket and filed smooth. And also, this is a task for scissors rather than twisting. Trust me, it’ll save you when it comes to filing them down. Yes, it comes with a nail file that’s just perfect for the job. So, be prepared for a little handiwork before you can actually use the board. That’s all about that.
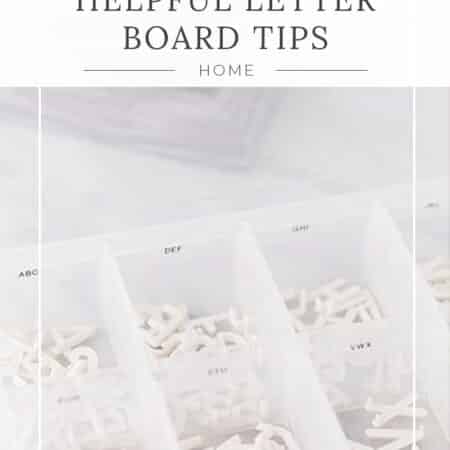
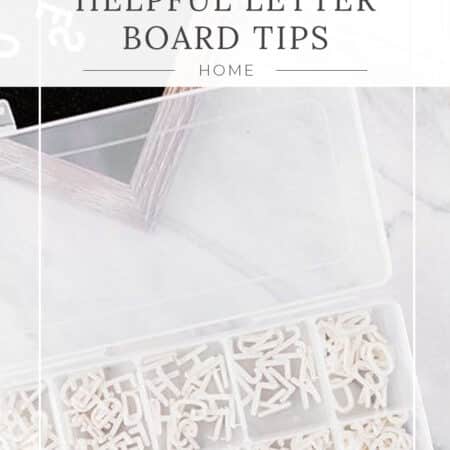
- Once your letters are snipped free and minus the nubby end, what do you do with them next? You’ll absolutely positively want to buy a little plastic bead box from either Amazon or Michael’s to store them in. I purchased one that has 10 compartments and I put 3 letters in each compartment with a compartment for numbers and a compartment for special characters. You can purchase one with 20 or even 40 compartments if you prefer, but they were bigger than I wanted for storing purposes. I also took a minute to label each compartment with the letters it contained, so at a quick glance I can grab the right one. This alone saves me SO MUCH TIME.
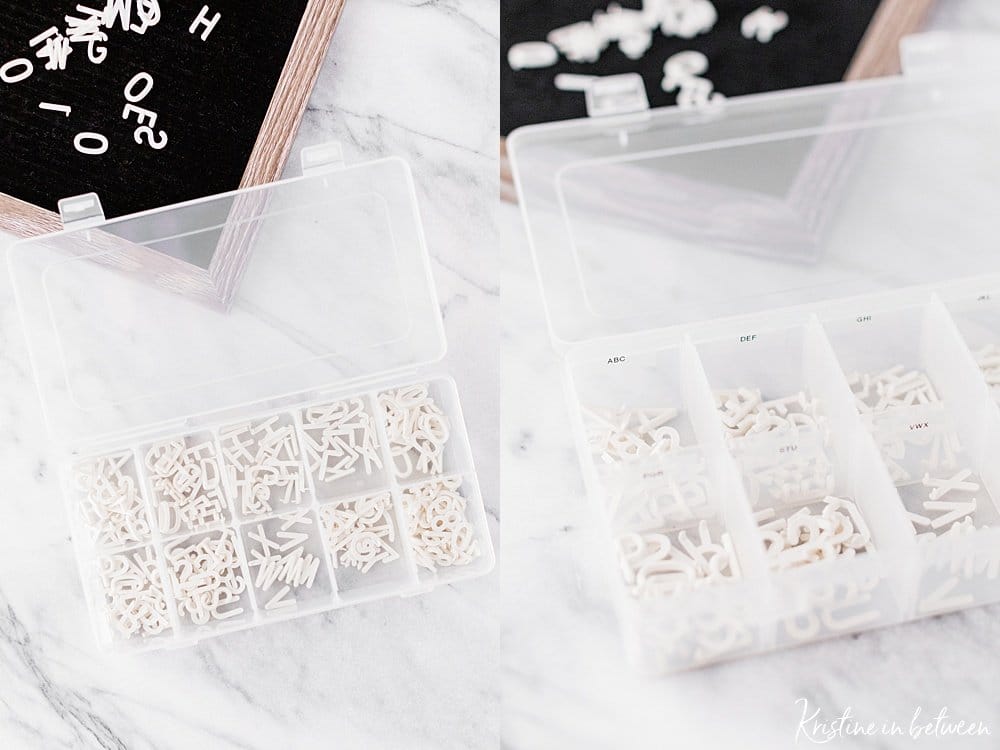
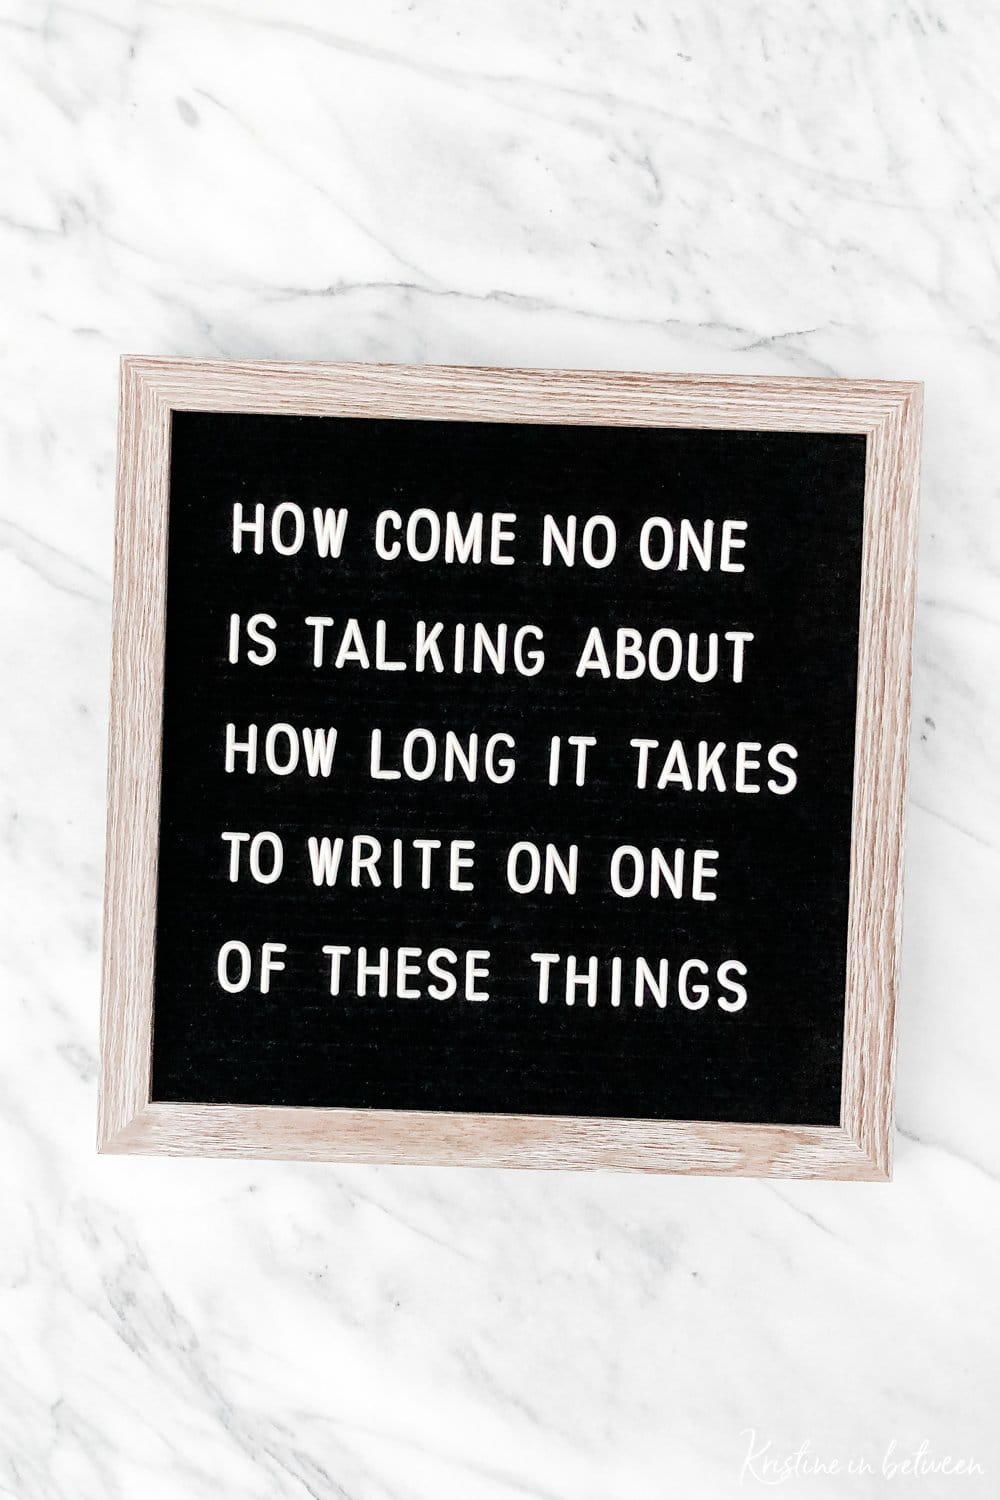
- And now let’s talk about the actual board. Felt letter boards are…well, felt. So of course, they get dusty, linty, and hairy. Yet another thing I hadn’t considered. So I now also keep a little lint roller in my bucket to quickly roll off my board in between sayings. You don’t have to do this step if you don’t want to, but because I photograph mine, I have to. Editing out the lint has proven to be VERY time-consuming. That’ll be a no.
- What if I’m not funny enough for a felt letter board, you ask? Oh trust me, you are! And if in doubt, there are all sorts of places you can find inspiration, Instagram, Pinterest, and of course good ol’ Google, just to name a few. I also jot down funny things I hear on the daily for future use. You’ll be surprised how much content you’ll pick up just by paying closer attention.
- That brings me to my next point. You’ll want to make a list of sayings. More than likely you’ll want your board to coincide with the day of the week, the time of year, or a special event. Not all sayings are appropriate when you discover them. I have a little notebook, also in my felt letter board bin, where I keep my ongoing list. When it’s time to change the saying (which is just about every day for me now, haha), I pull out the notebook and pick a saying.
- Once you have your saying, you’ll want to position it on the board. I tend to go back and forth between left justified and centered, depending on the length of the saying. My board is perfectly square, so I marked the midpoint of each side with a Sharpie on the back side of the board. Then I wrap two rubber bands around it, one in each direction, lined up with those marks, to create the center point. With the center marked, I just line up my saying around it. But, if I’m being 100% honest, I did this more when I first started, not-so-much now. I mostly just wing it now because I have a pretty good feel for the spacing on my board.
Say it with a letter board!
So there you have it, friends-the most helpful felt letter board tips that I’ve picked up along the way. I sincerely hope they help with your felt letter board journey and that you don’t have the frustrations I did!
If I missed any, make sure to leave me a comment below!
And don’t forget to check out my latest letter board sayings on Instagram. I’d love for you to follow along; I crack myself up, for sure!
If you love to crochet, I also have some super popular afghans that you need to check out! This simple granny stripe afghan and this all double crochet afghan are great places to start!

